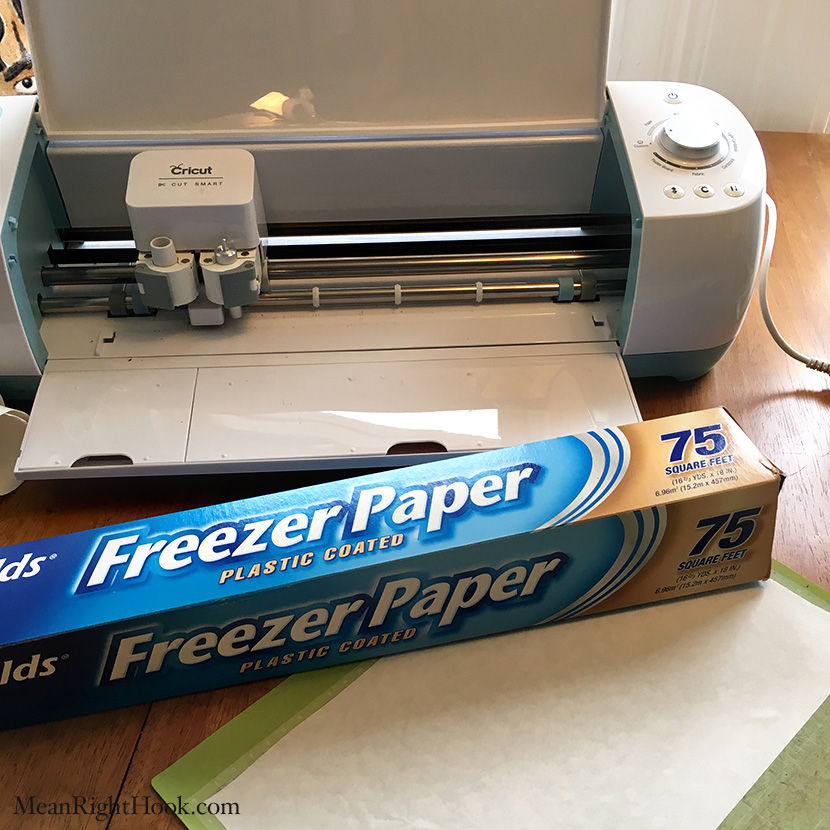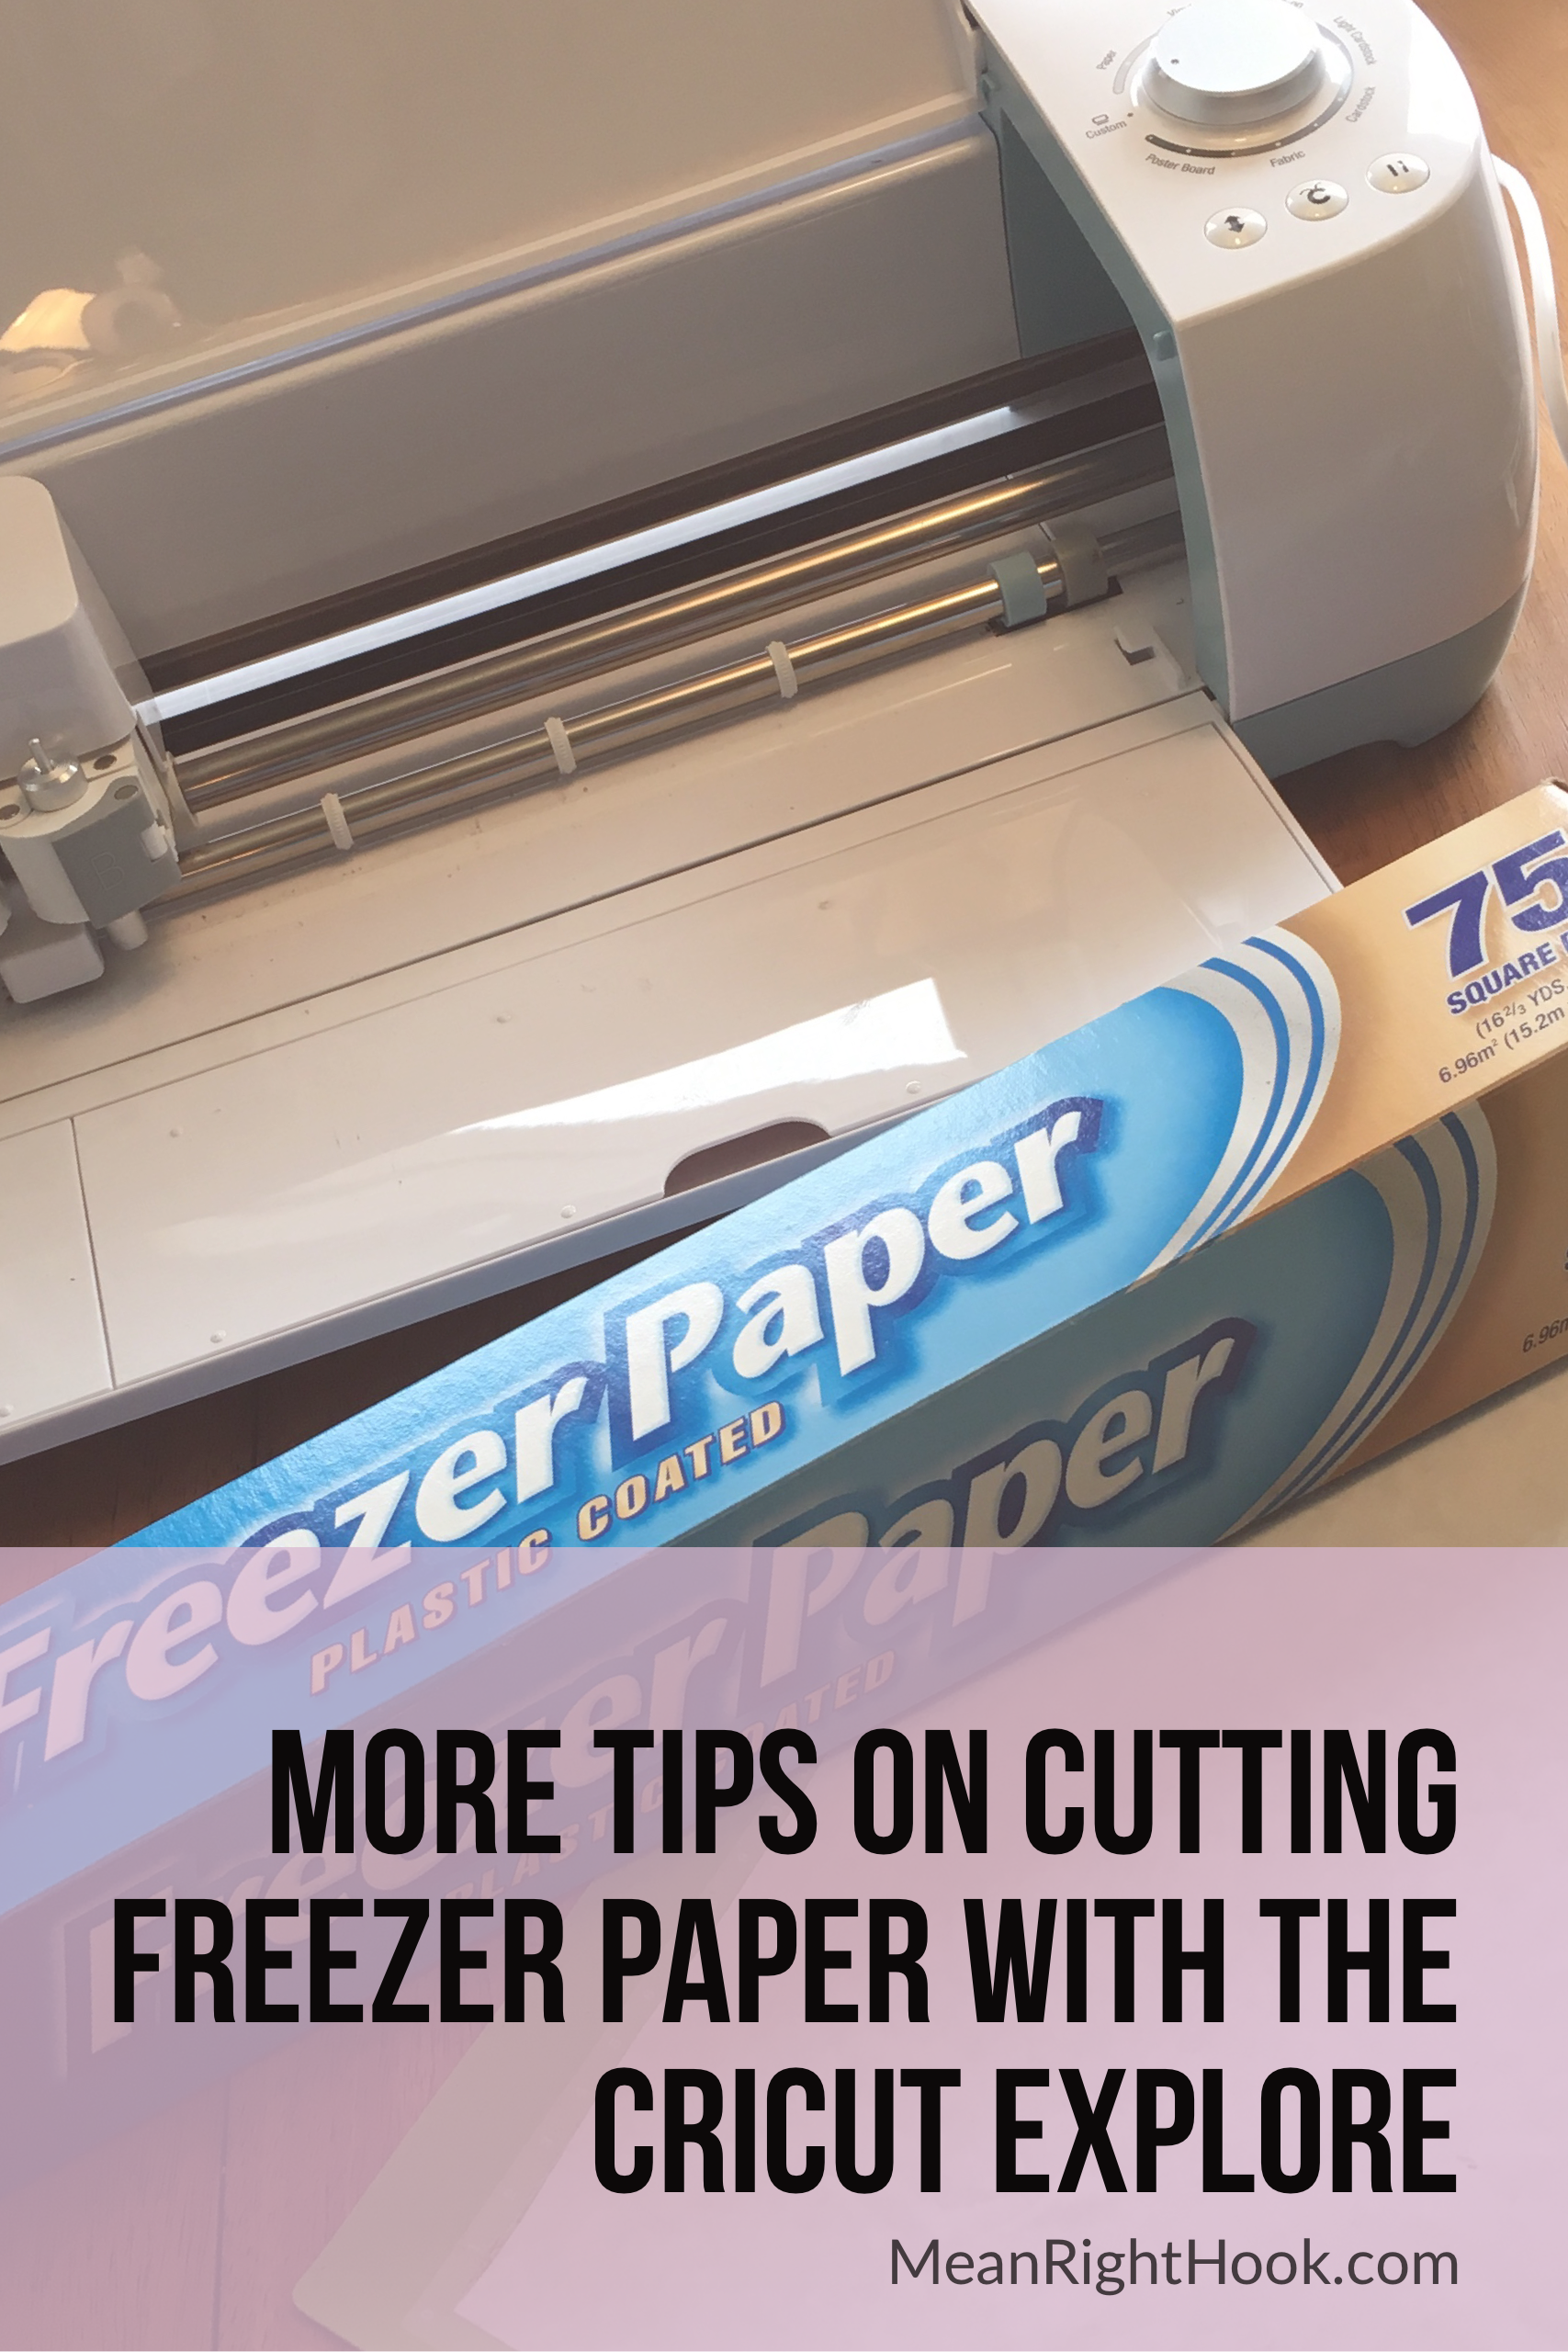
A while back I wrote a post on how to cut freezer paper with the Cricut Explore. You can read that post here: How to Cut Freezer Paper with the Cricut Explore It's still one of my favorite ways to use my Cricut but since then I've learned a few more tricks on how to make it easier to transfer my design to the shirt.
My secret: Drywall Tape!
You can buy it lots of places but I picked up a roll at Home Dept.
The Process
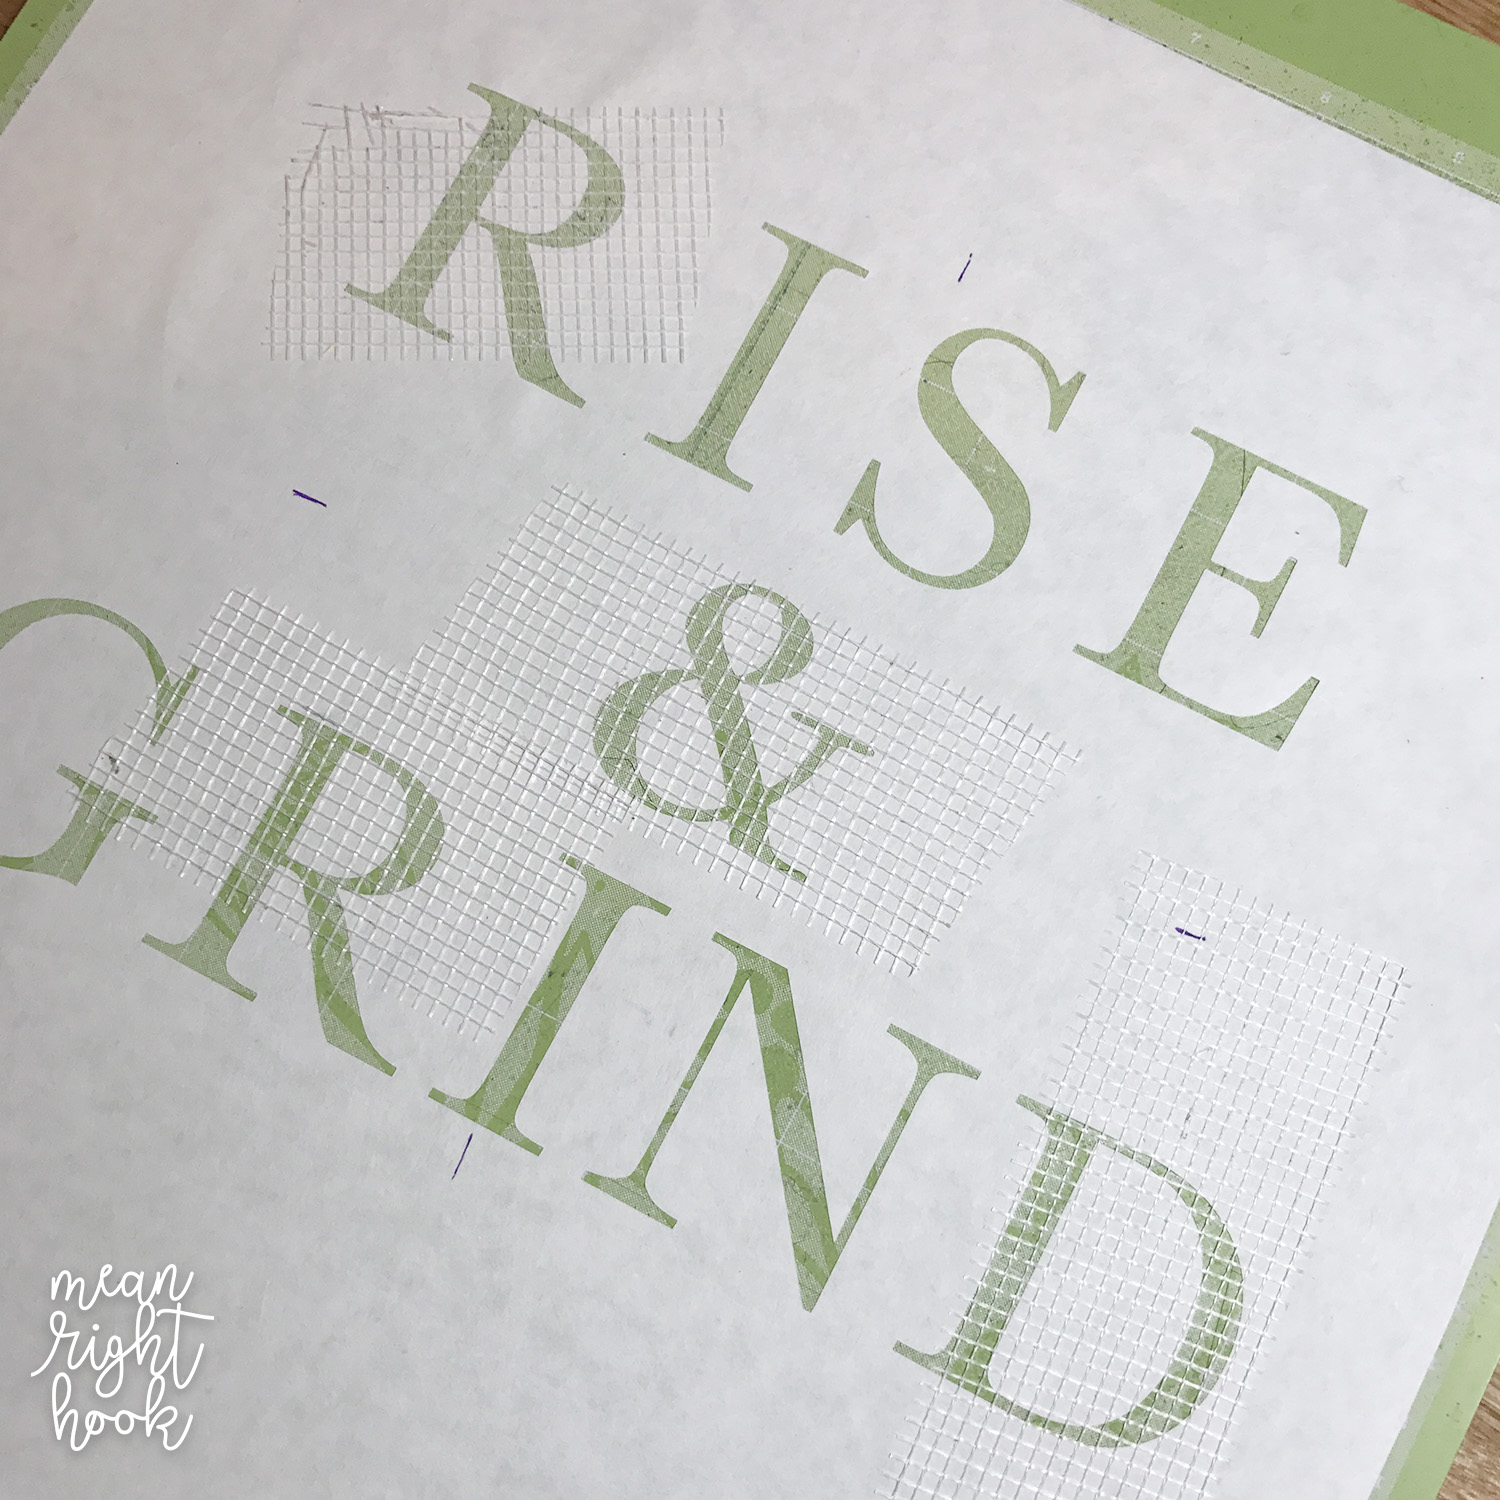
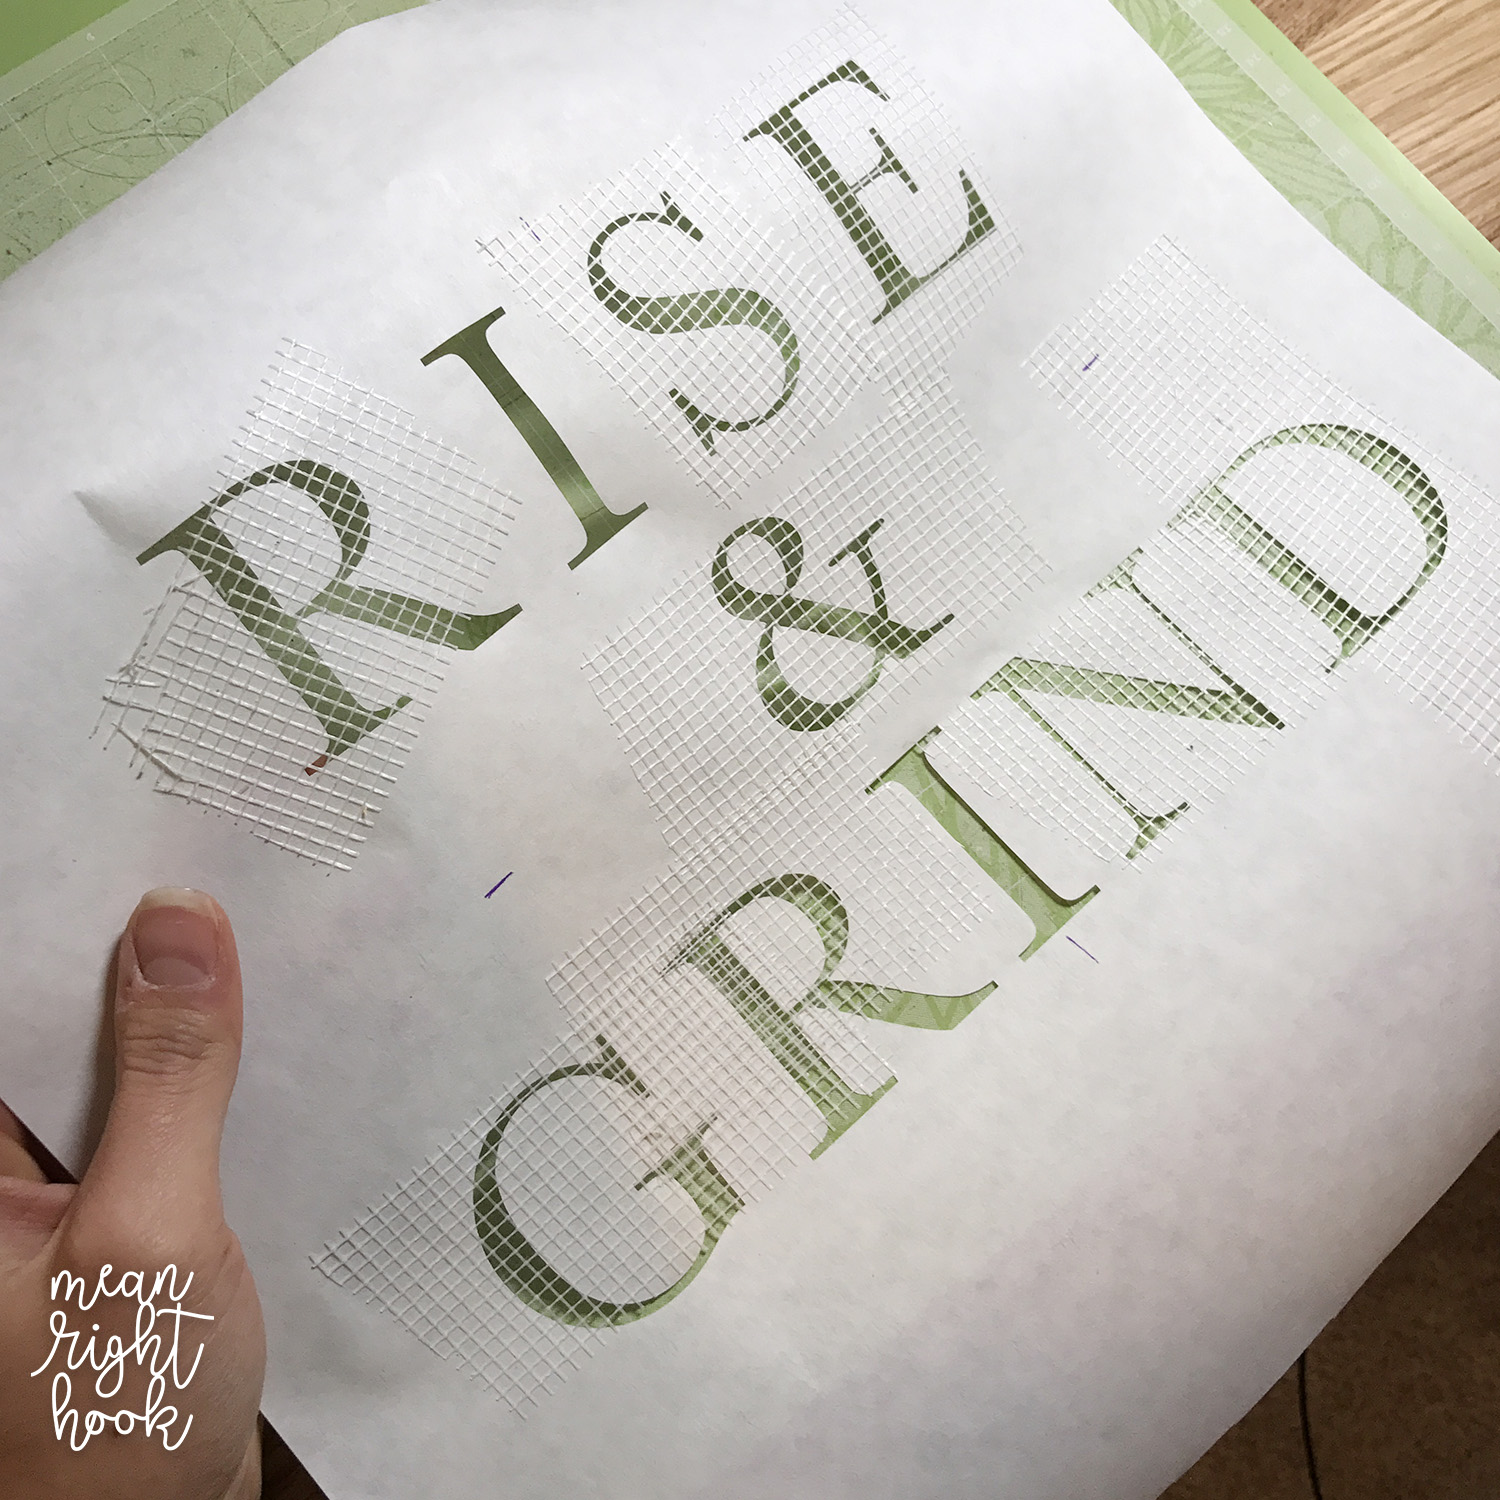
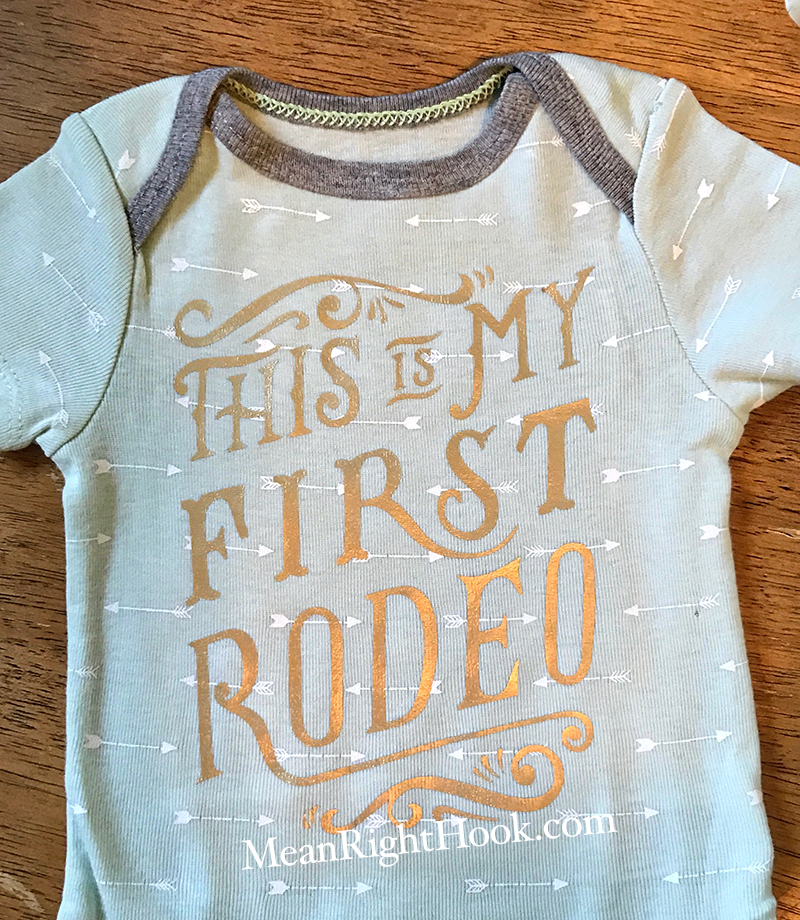
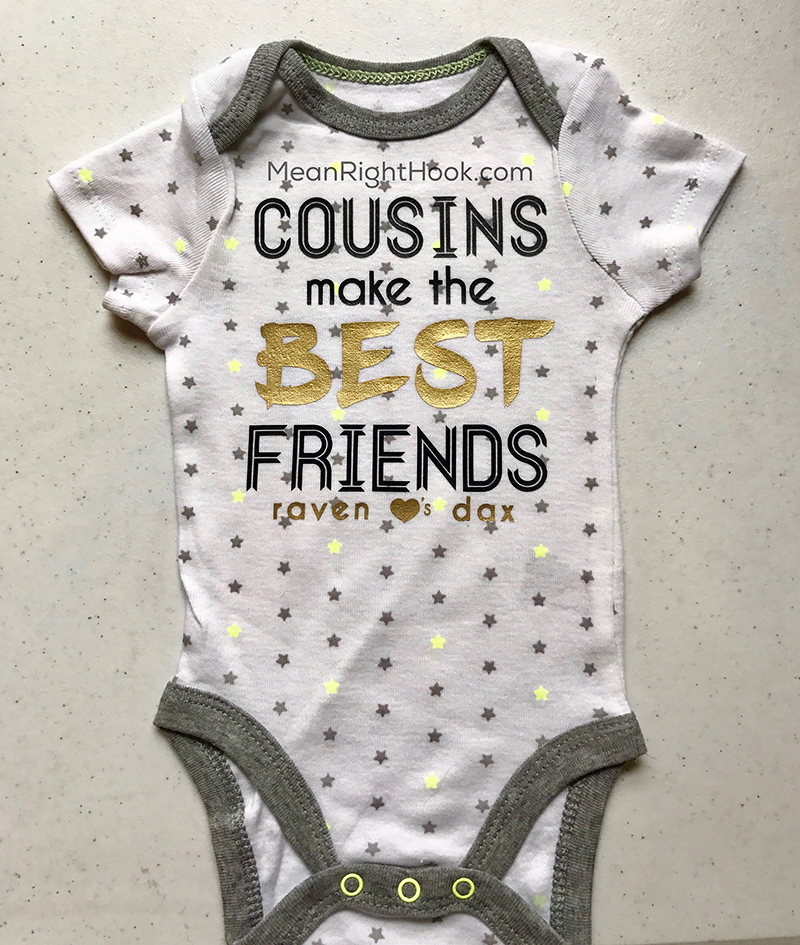
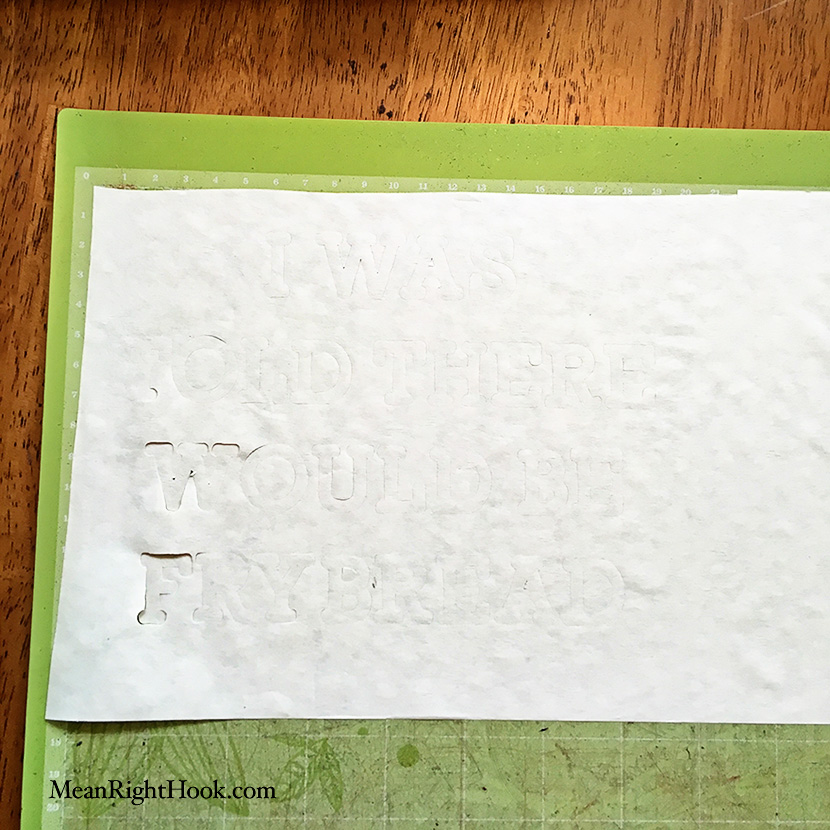
I cut out my design just like I did in my first freezer paper tutorial, weeded out the parts I needed but then left my design on my cutting mat and placed pieces of drywall tape over the center of the letters that would normally not be connected to the design any more after cutting. This keeps everything attached to the sheet so when I move my design over to my shirt I don't have to try to place and re-aline the center of my Rs, D, and &.
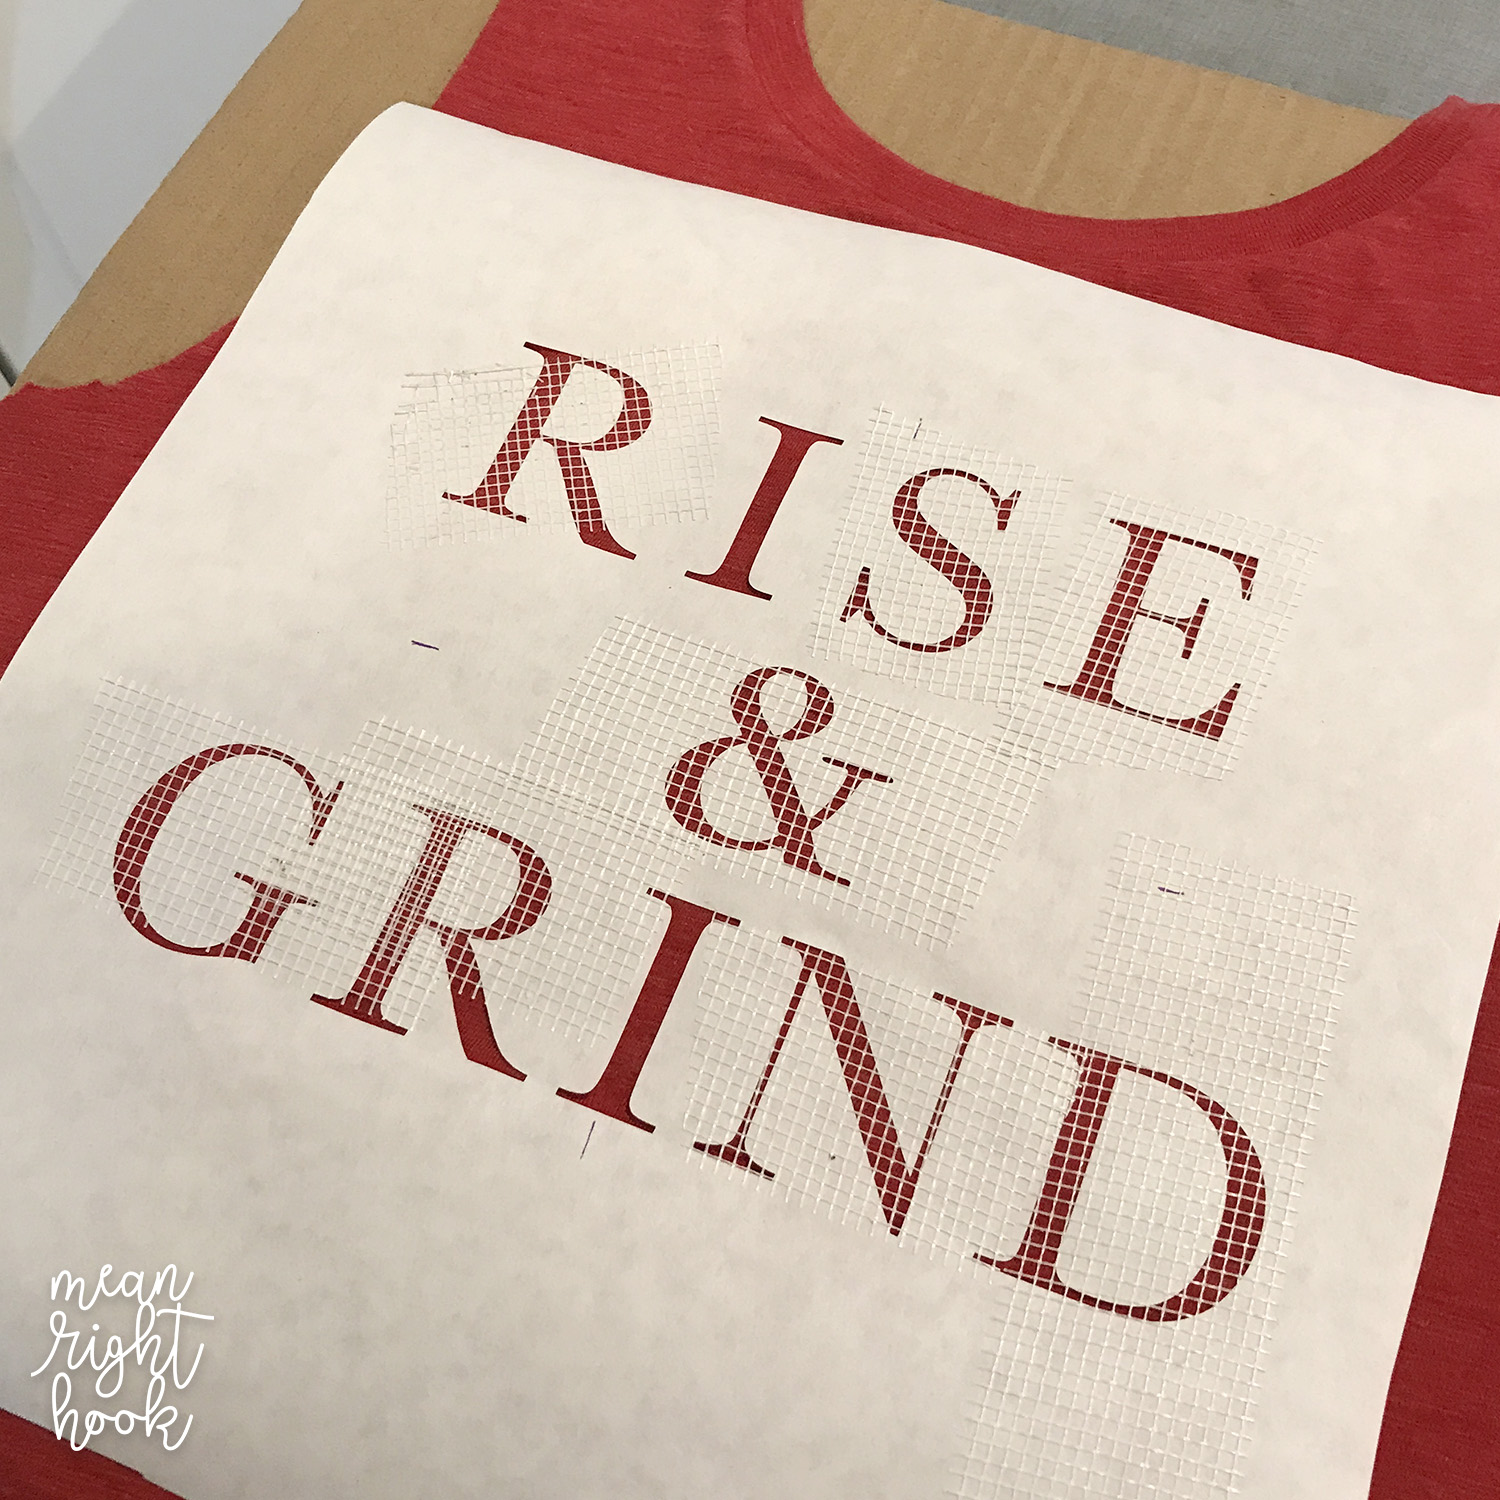
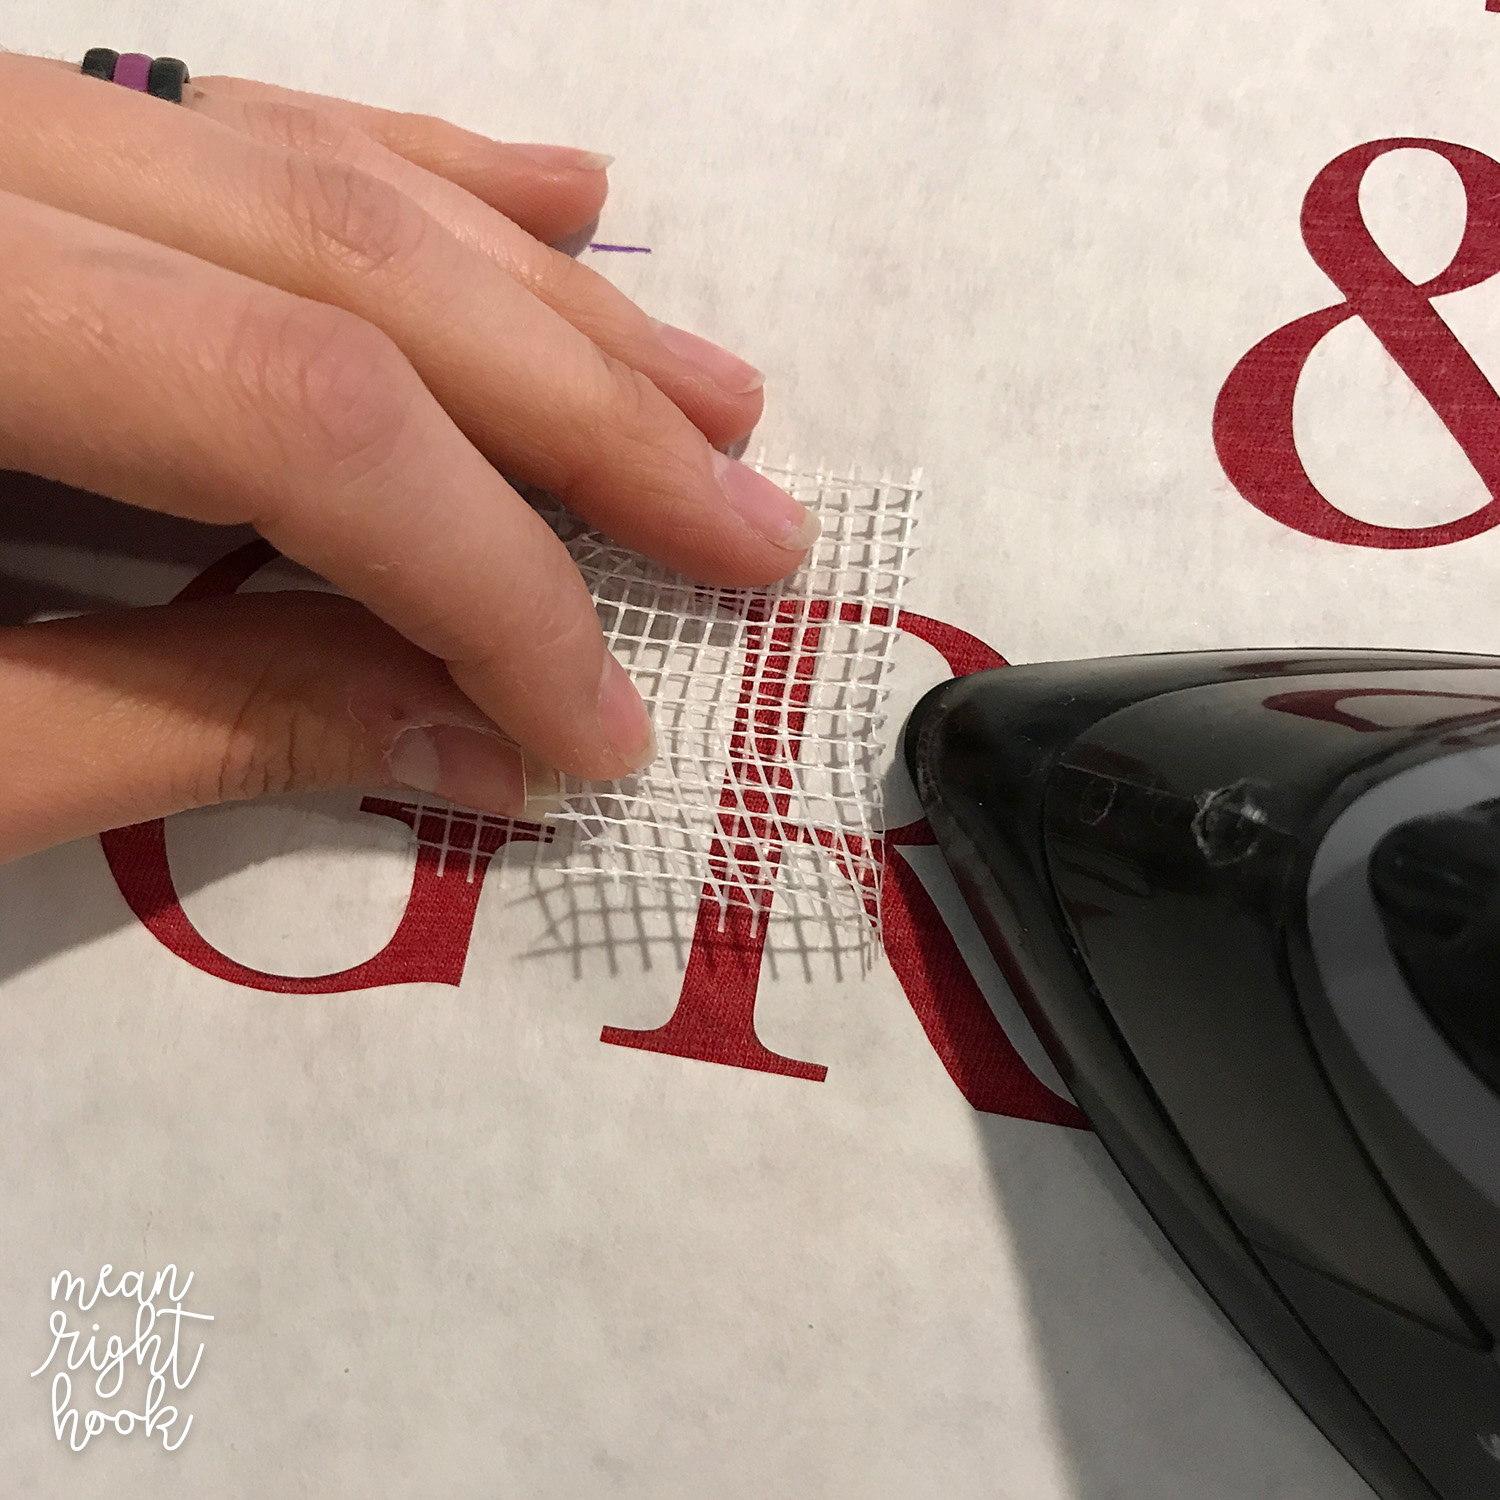
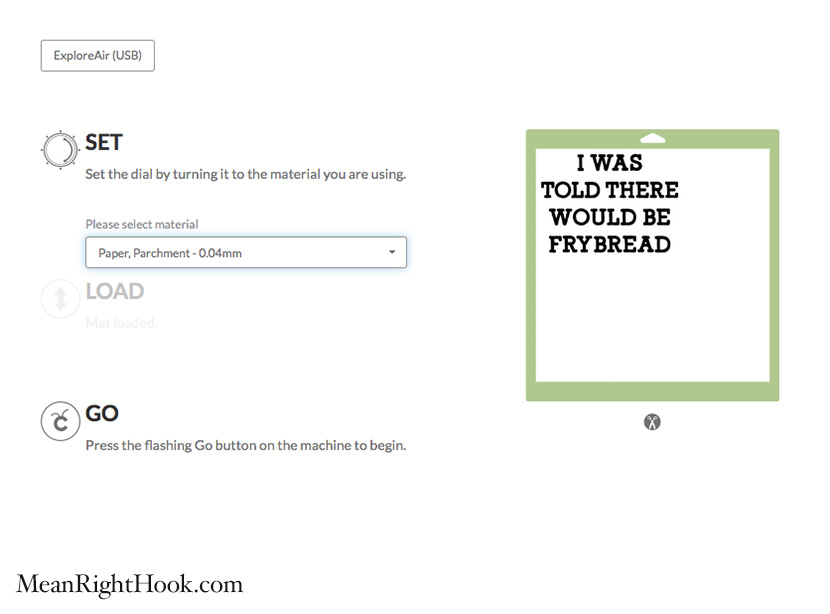
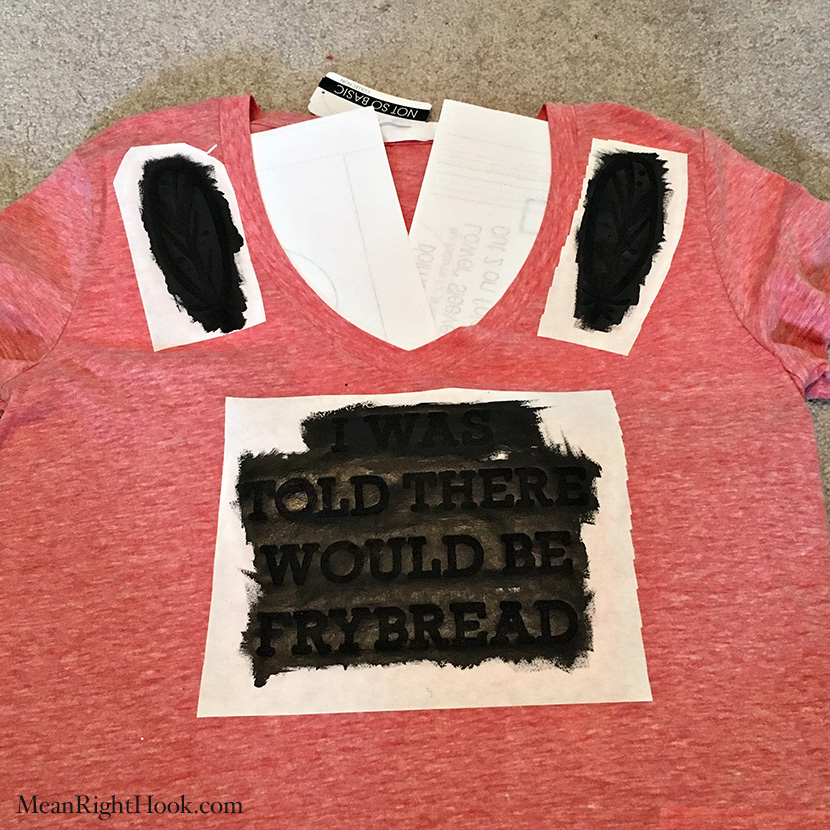
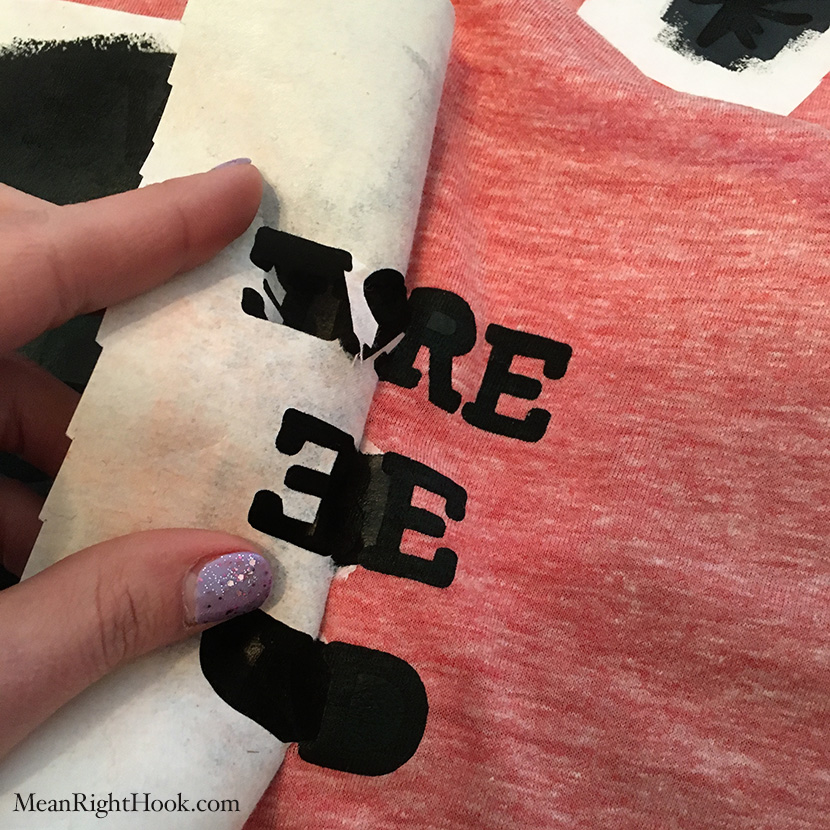
Then I iron the freezer paper to my shirt and very slowly pull back the drywall tape while my iron is holding down the freezer paper.
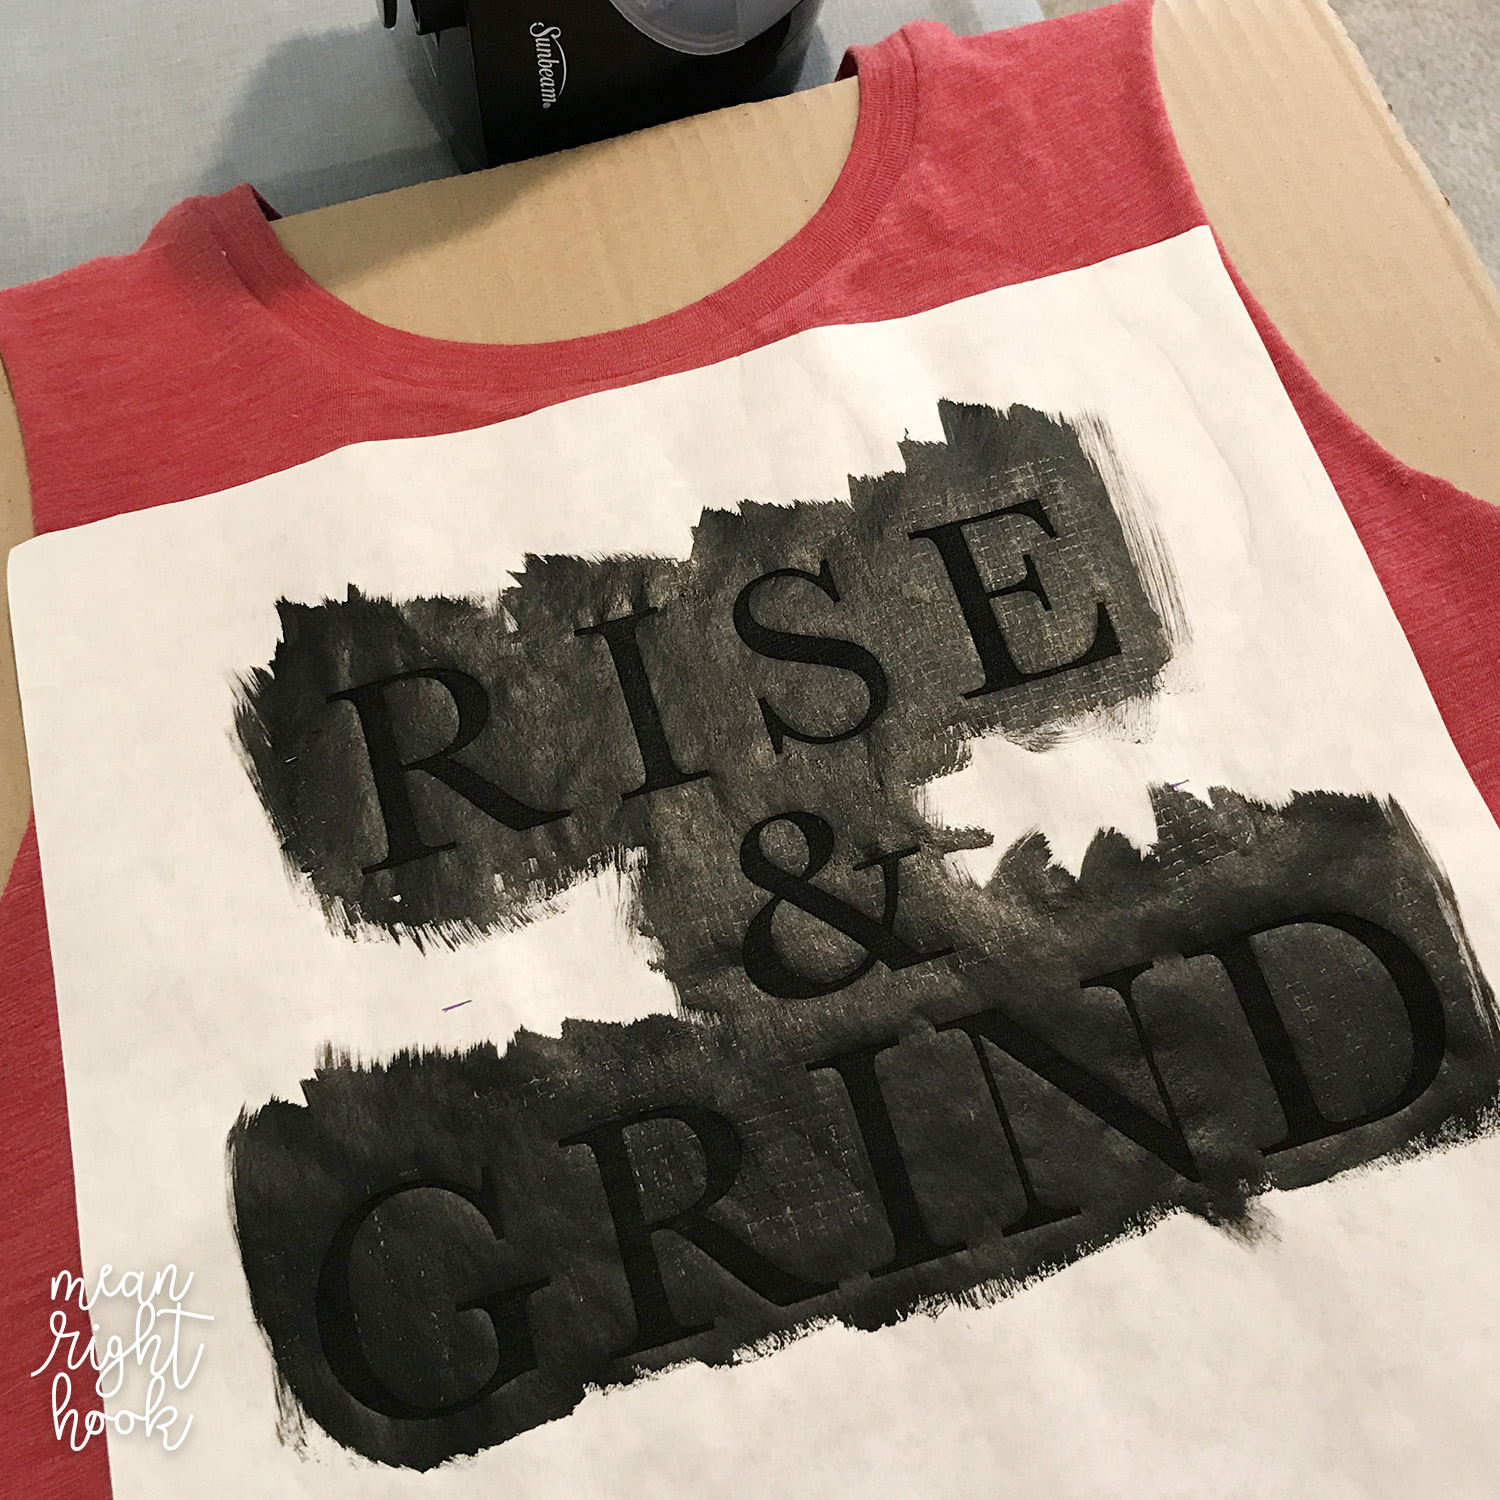
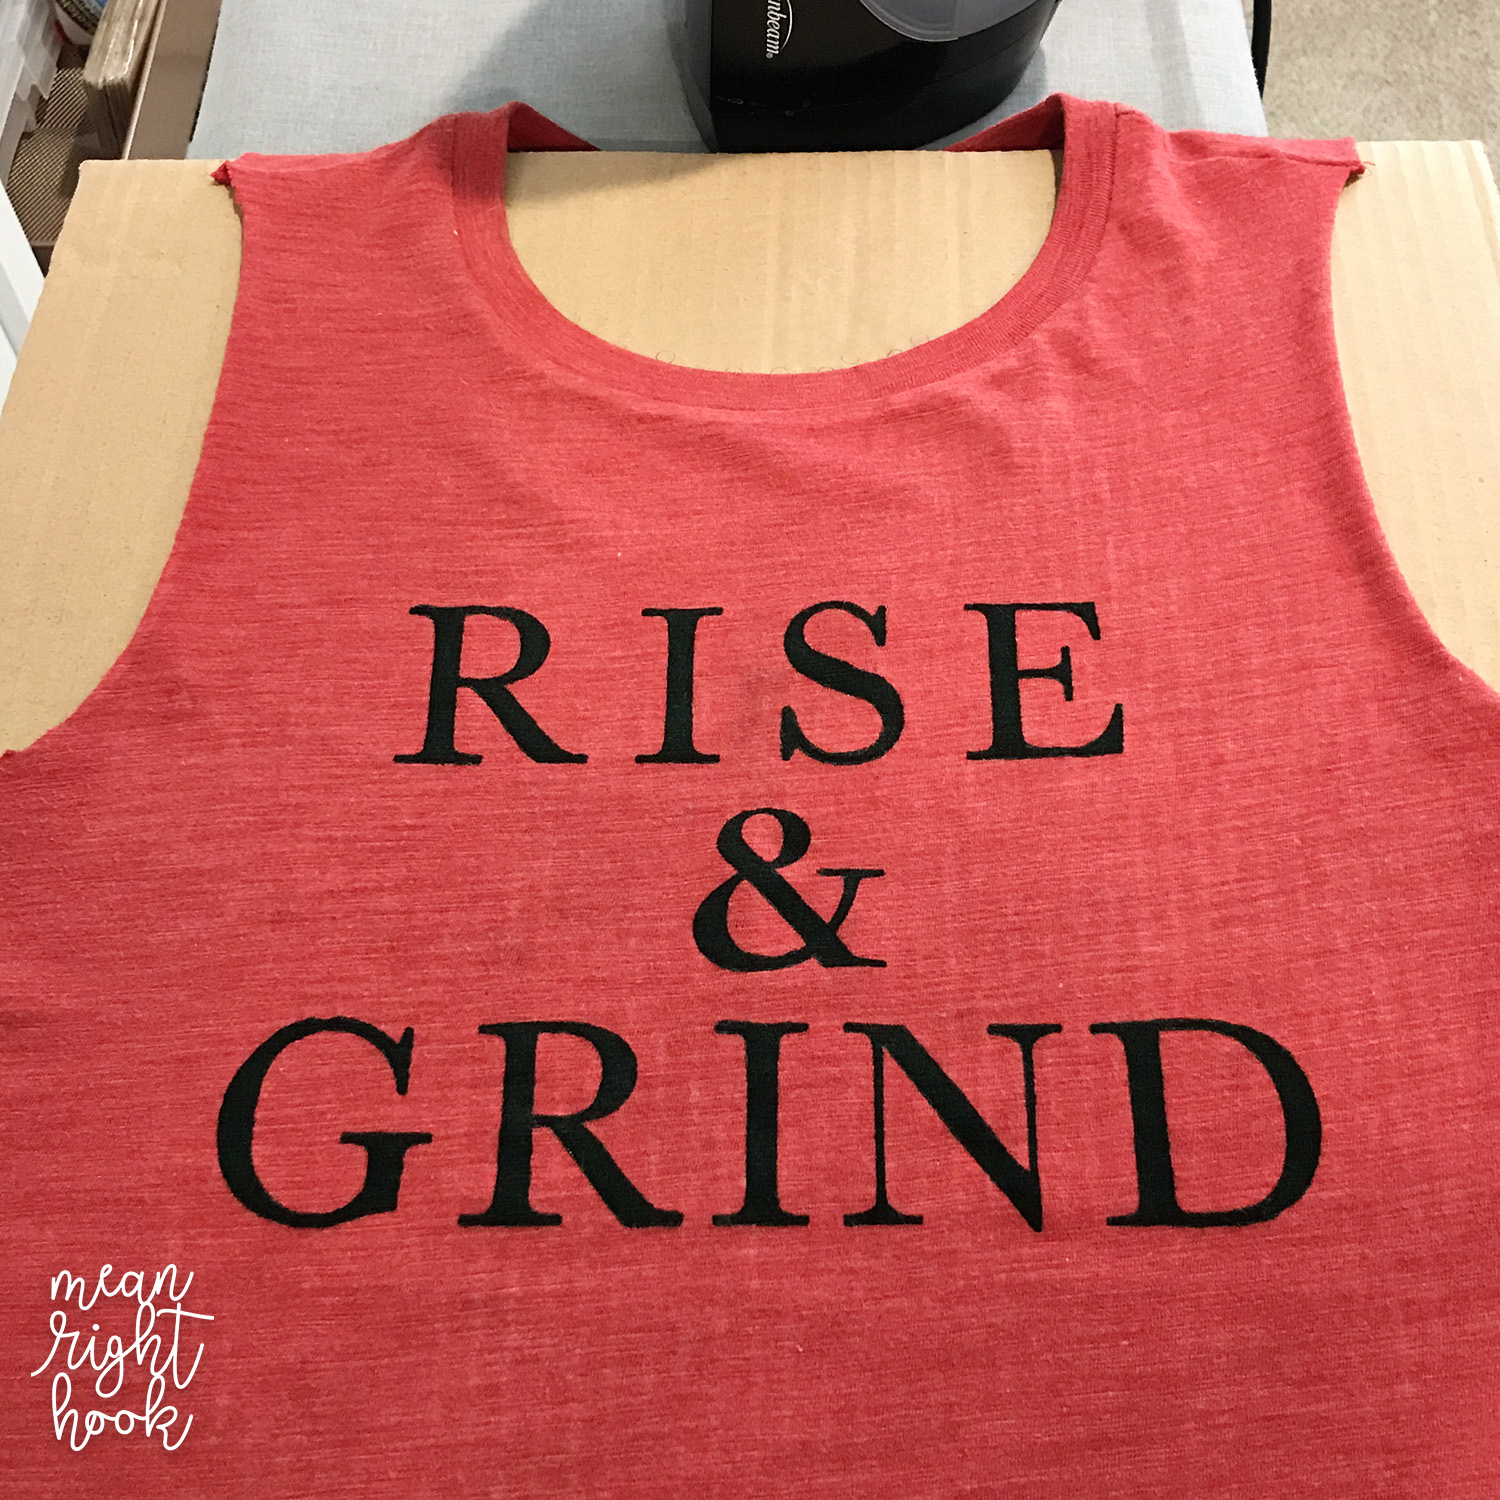
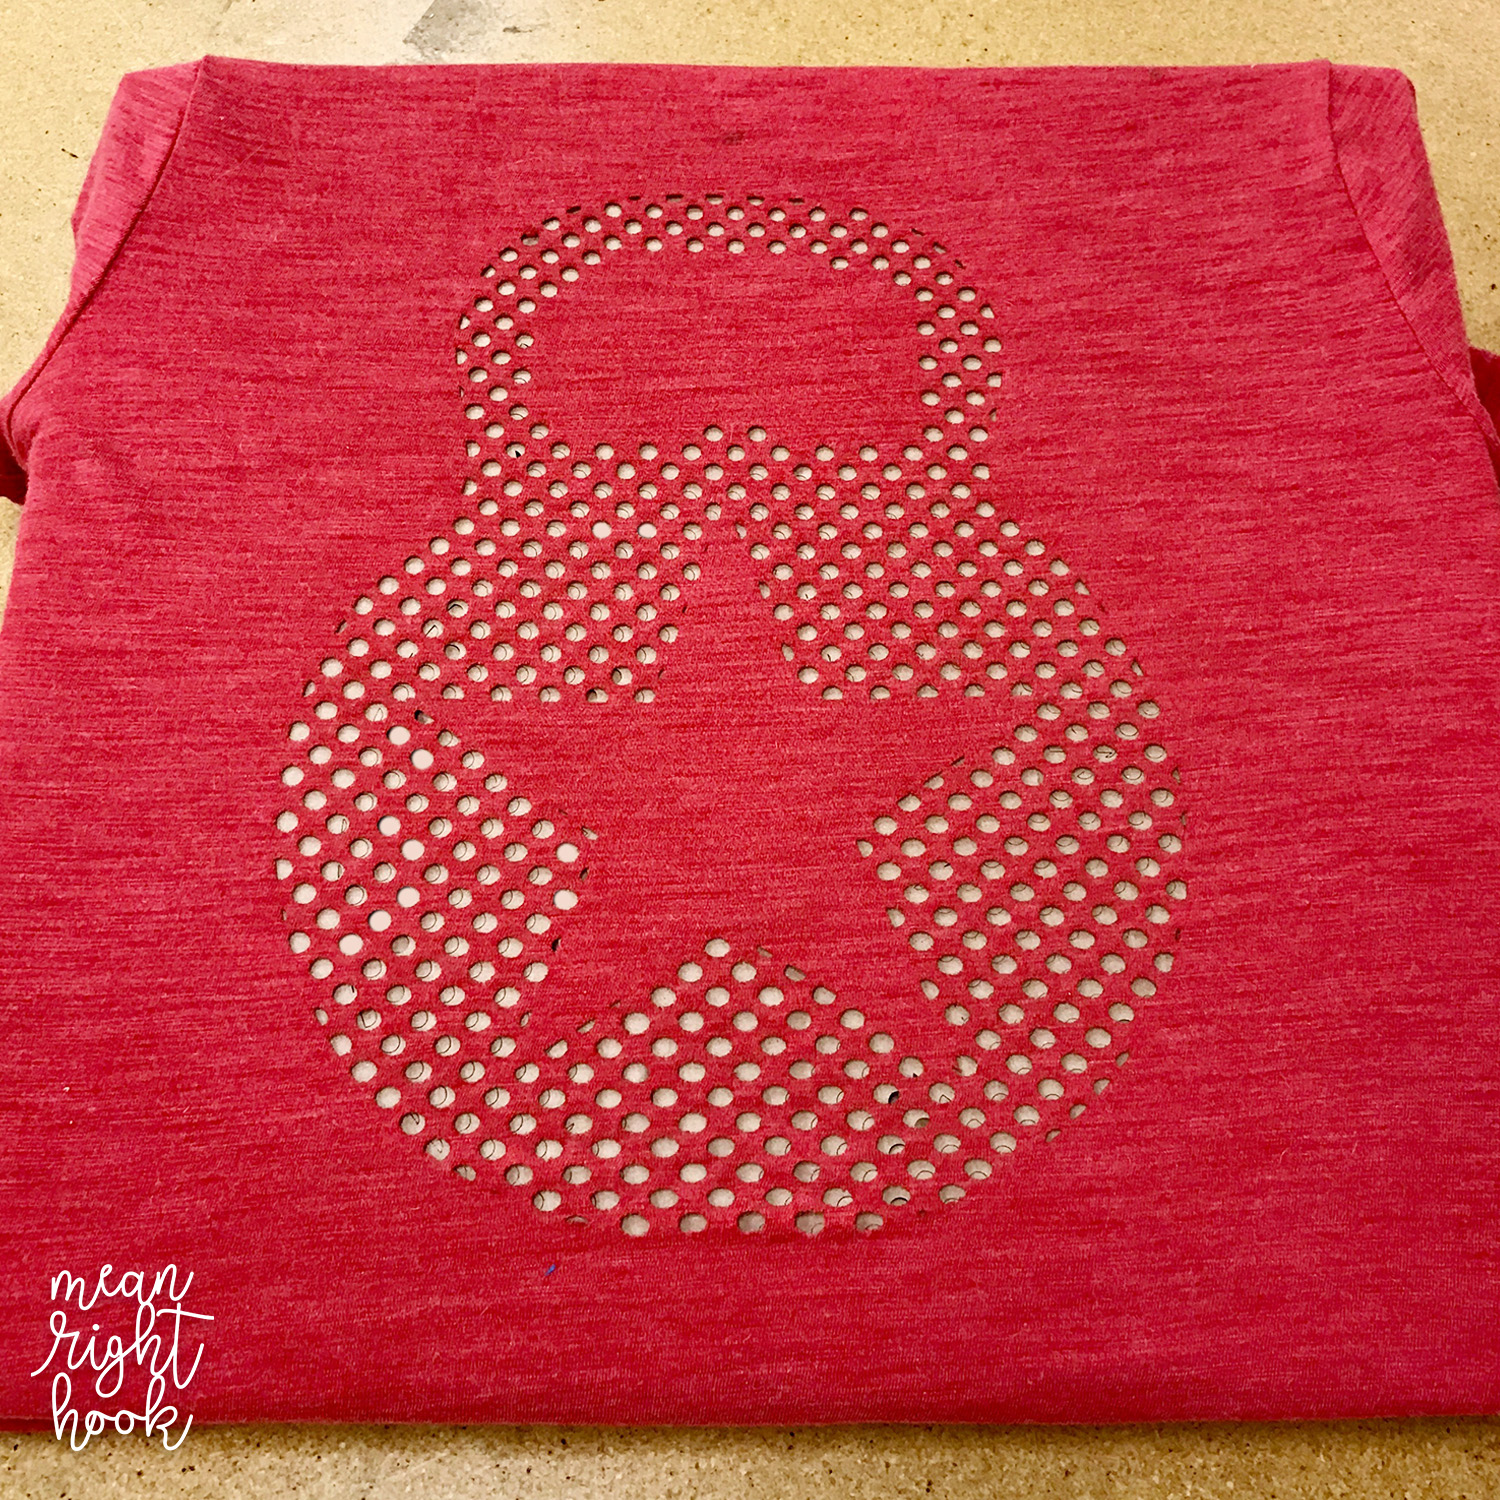
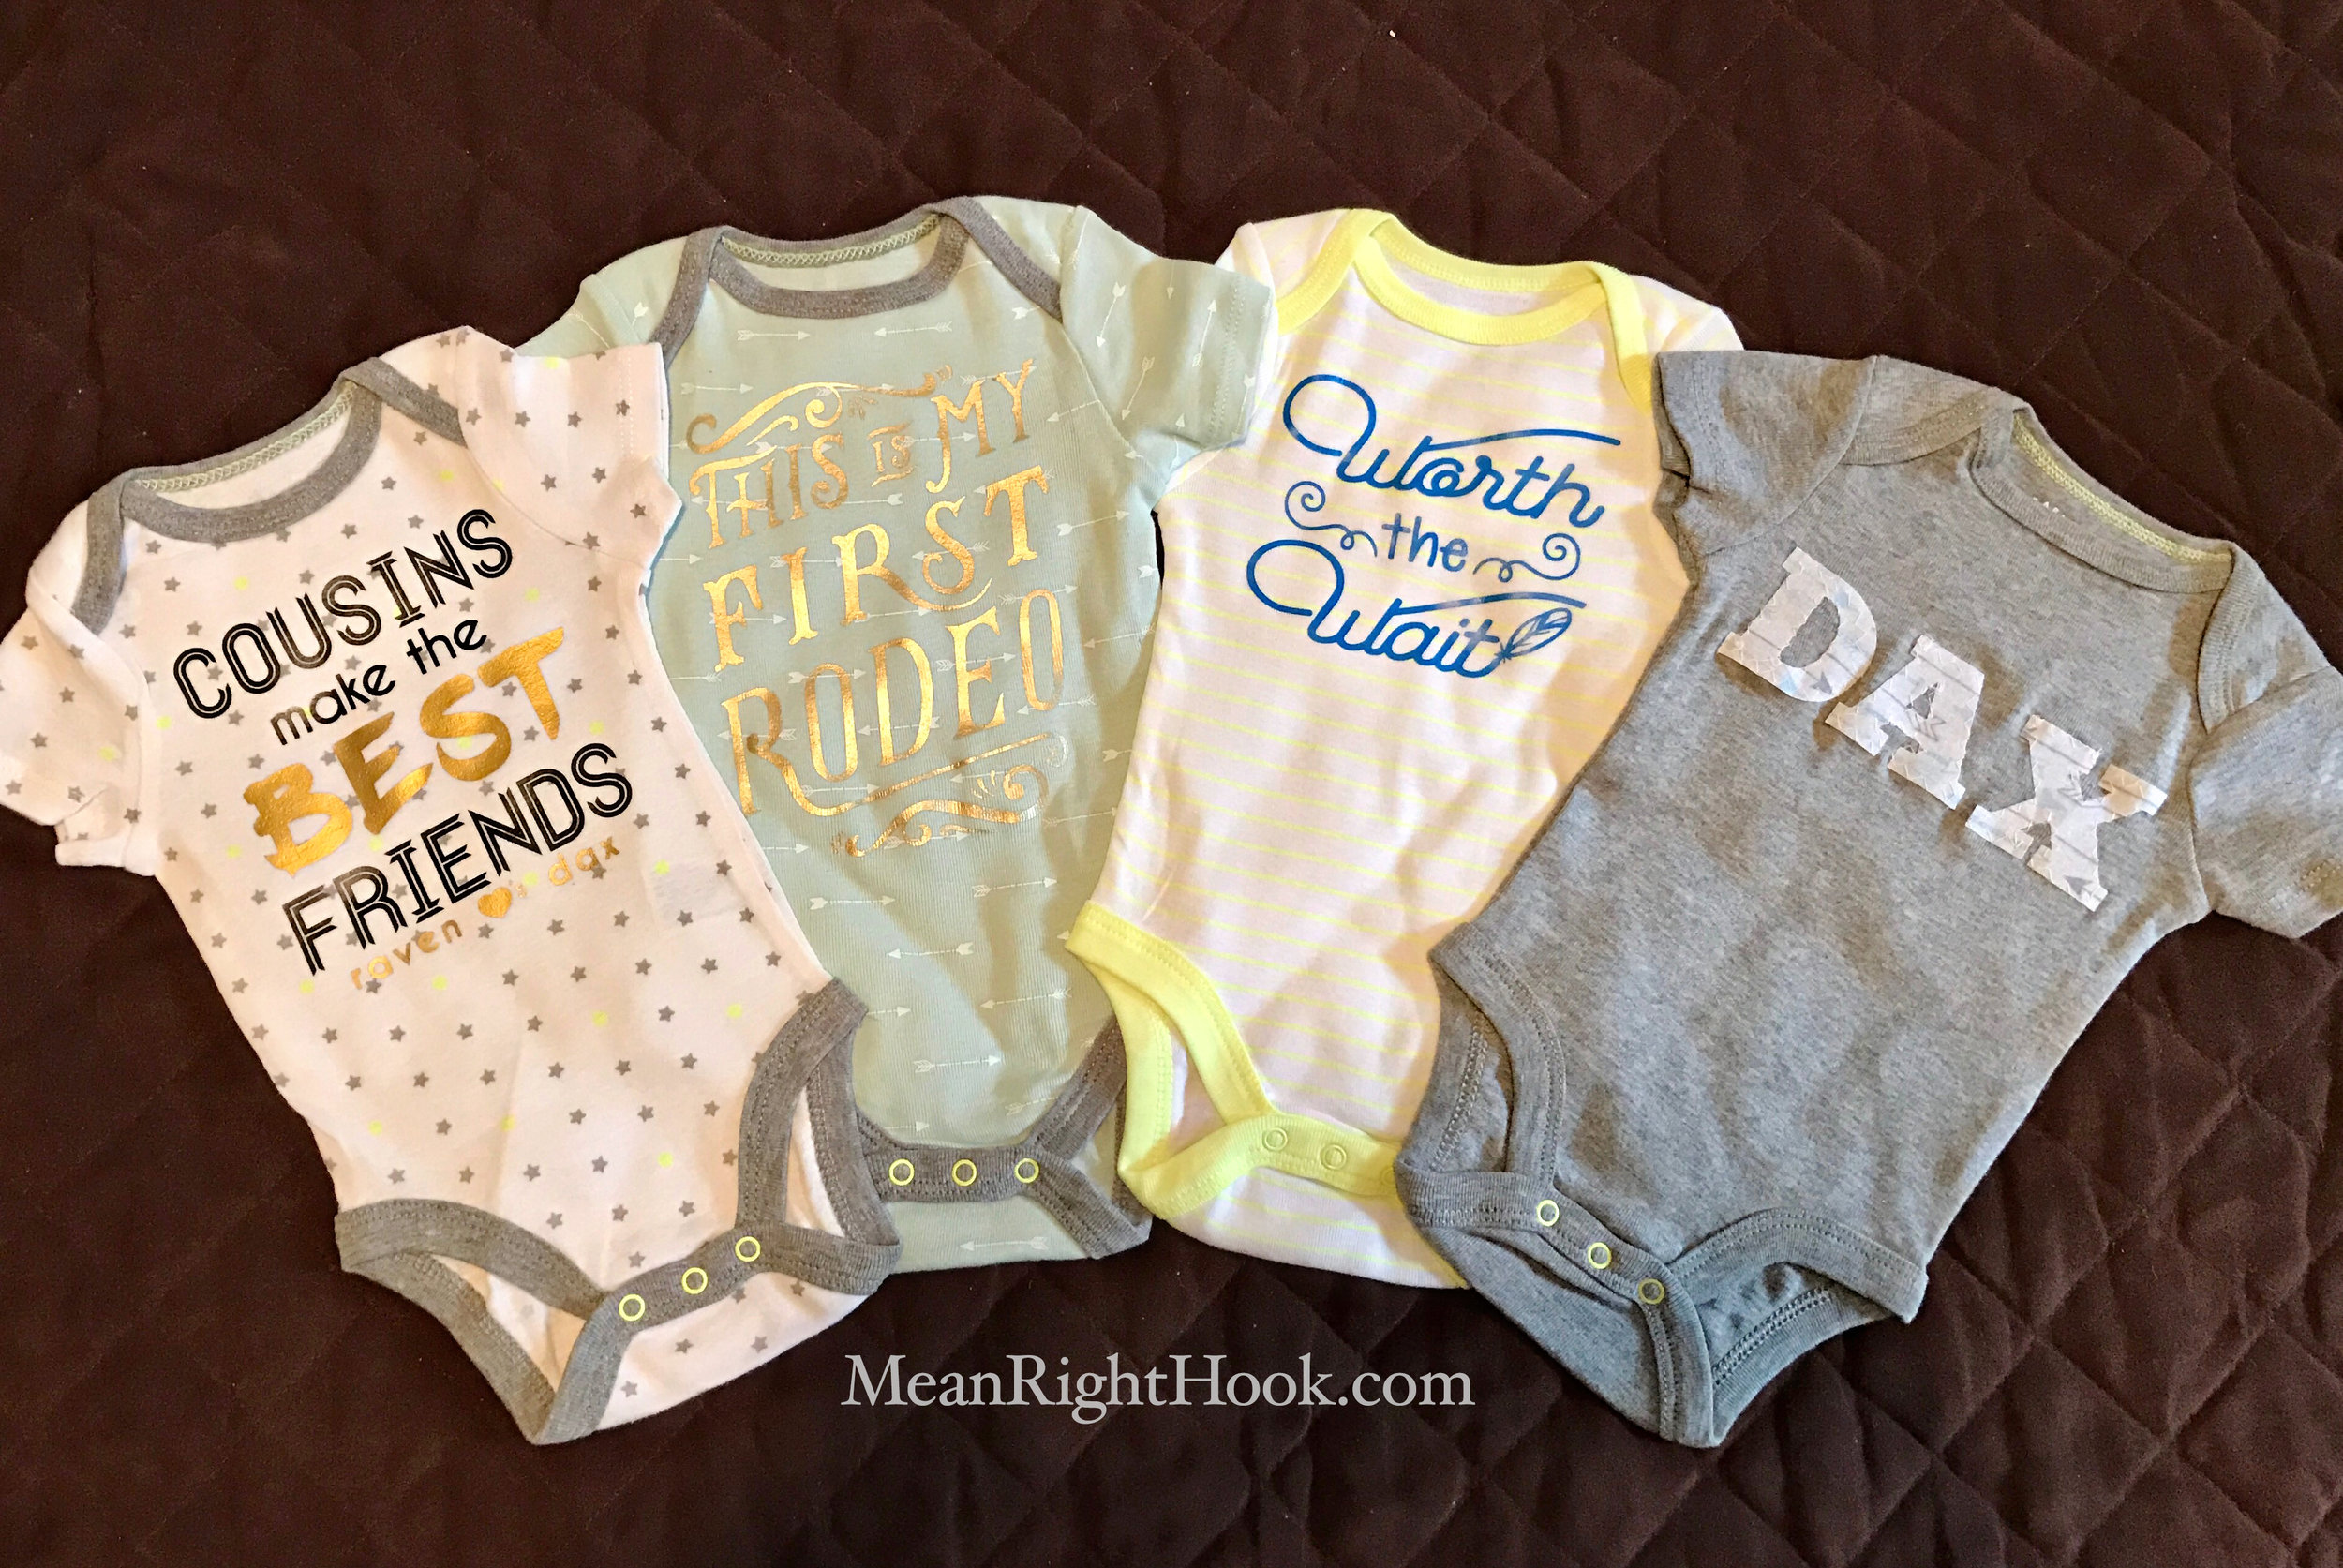
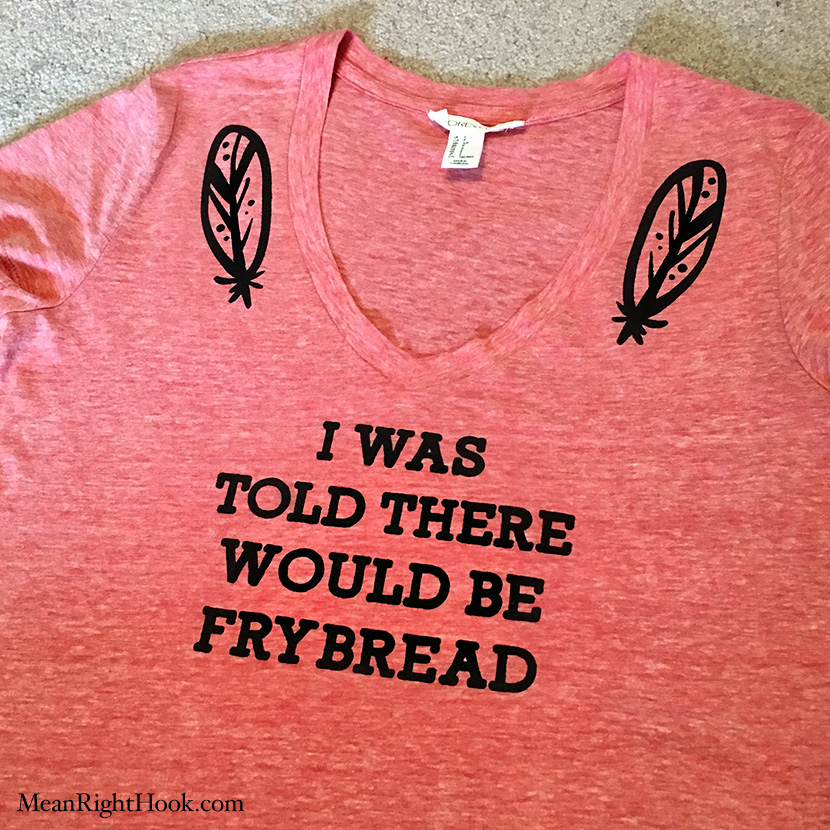
It works like a dream and I no longer dread trying to do a freezer paper designs with a lot of type! To finish my shirt I wanted to add a little something fun so I created this design an laser cut it on the back. I love how my new gym shirt turned out.