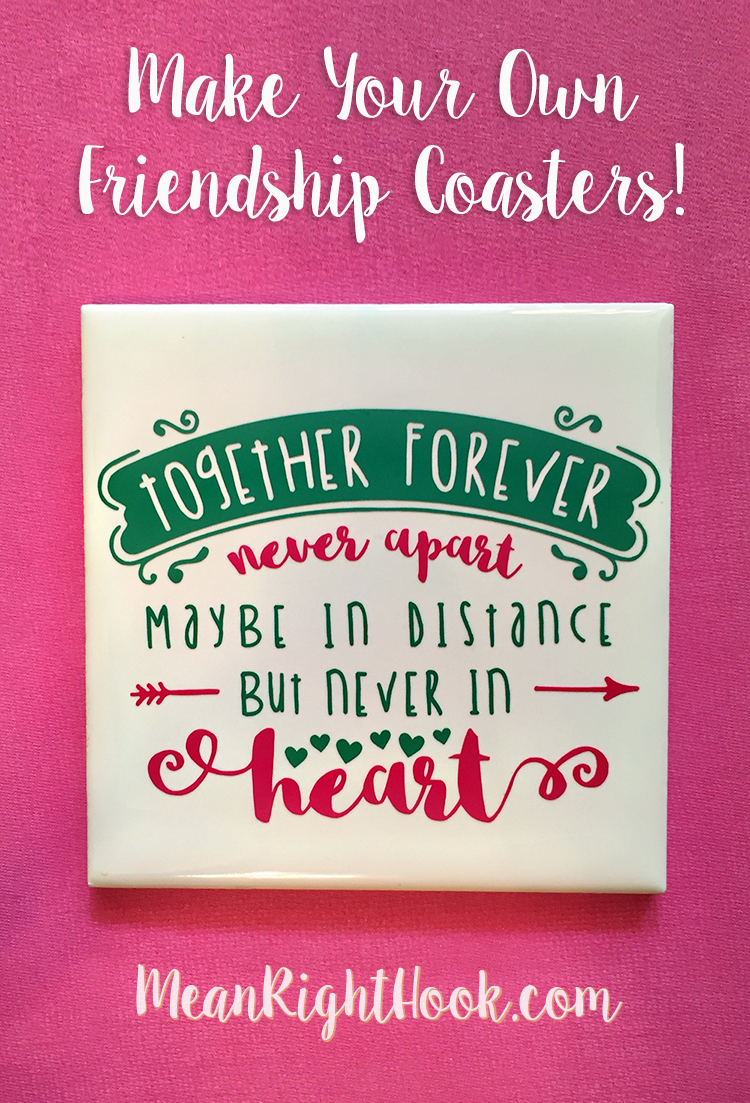
...Make coasters! :) Last week I went to my local salvage store and found tons of great 4 1/4" ceramic tiles for super cheap! I wasn't sure what I was going to do with them but I knew I couldn't pass them up.
I decided I could make some awesome tile coasters for a friend. I've got four designs made that I want to put on them, but of course getting them done during Raven's nap times can be challenging to say the least. So, for now here's the first one I got done and all the steps it took to make it so you can make your own too.
1. First, I loaded my design into Cricut Design Space and scaled it to just the right size for my tile.
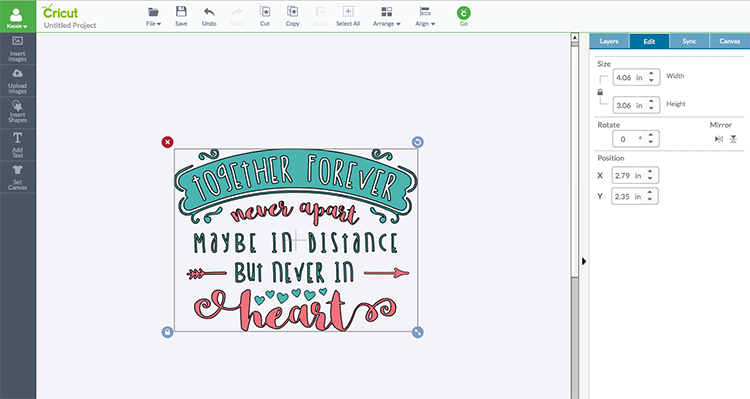
Sized up and ready to go!
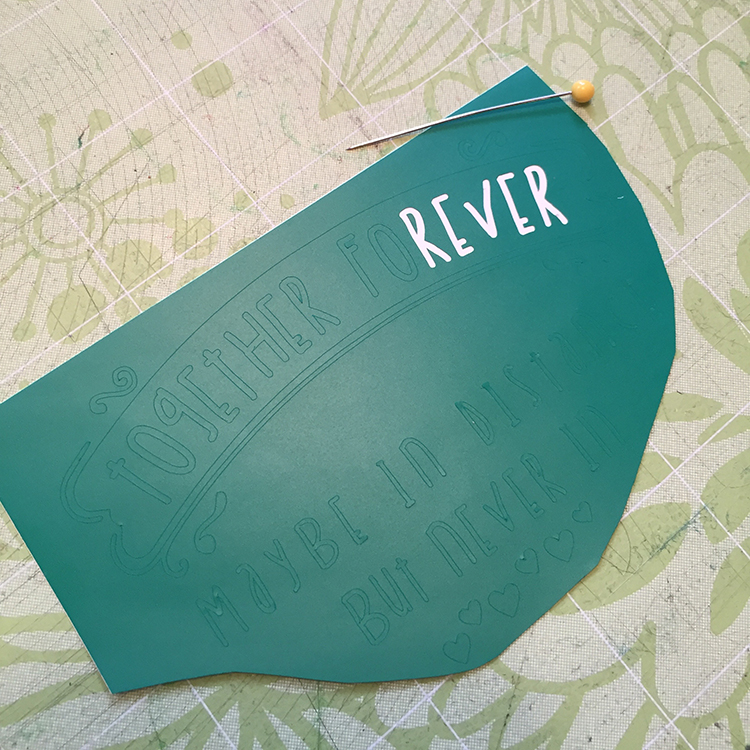
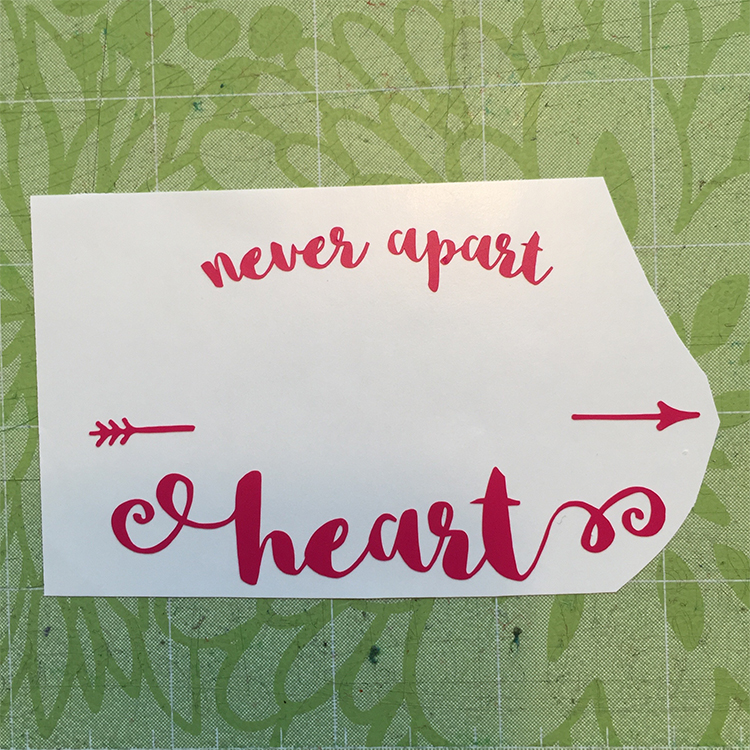
2. Next, I cut my design out of the two colors of permanent vinyl I wanted. I had the cut setting set to Vinyl.
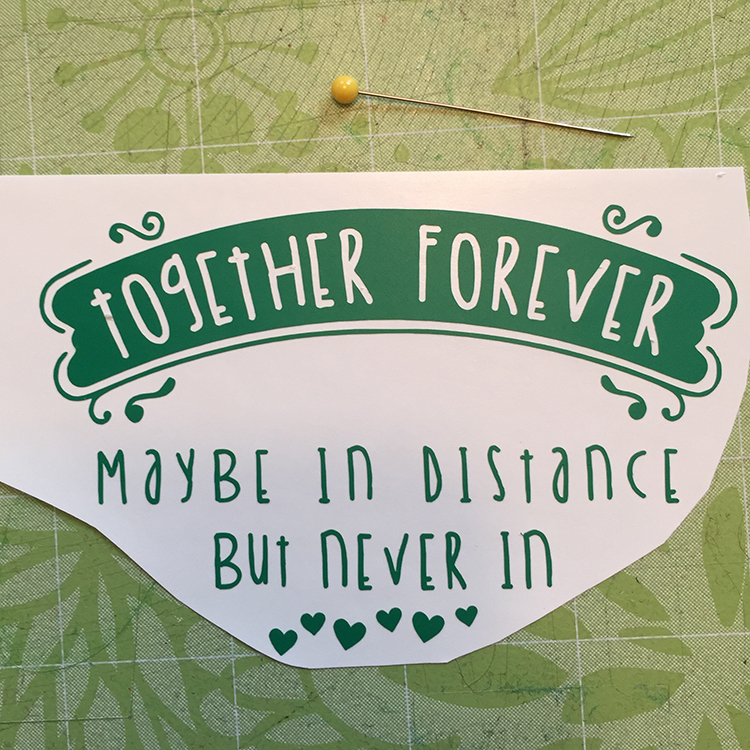
3. After it was all cut out I weeded out the vinyl. Because the letters in the middle of the design are so thin I took my time, being carful not to accidentally pull any up. For intricate designs I like to use a needle to weed out the little parts.
4. Then I applied the green vinyl part of the design to the coaster using clear contact paper and then the pink.
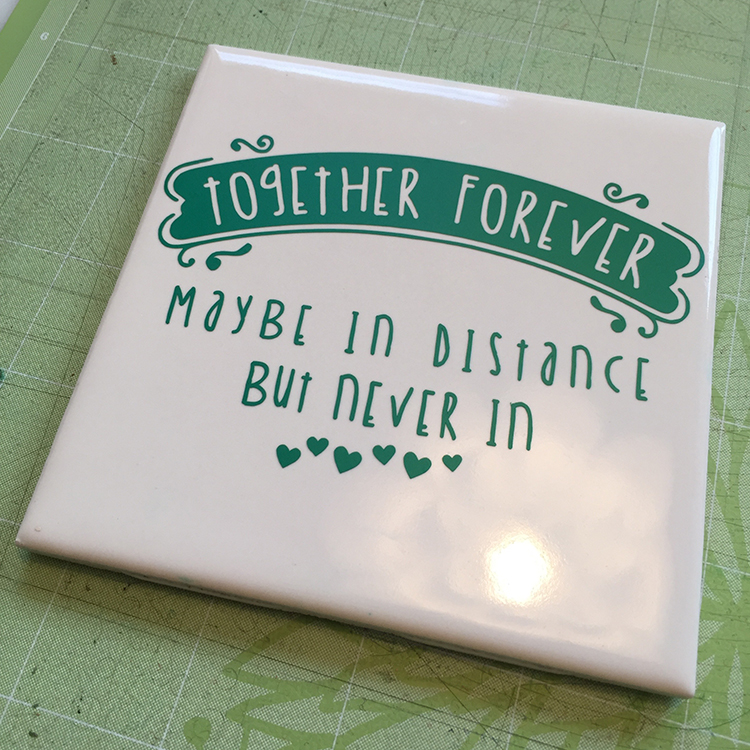
5. The last thing I did was cut out a piece of felt the same size of the tile and glued it to the back. If you have cork, that would work too.

One down, 3 more to go! As I get them done I'll share those too. I can't wait to see what the set looks like. If you want to make your own, you can get the design from my Etsy shop.