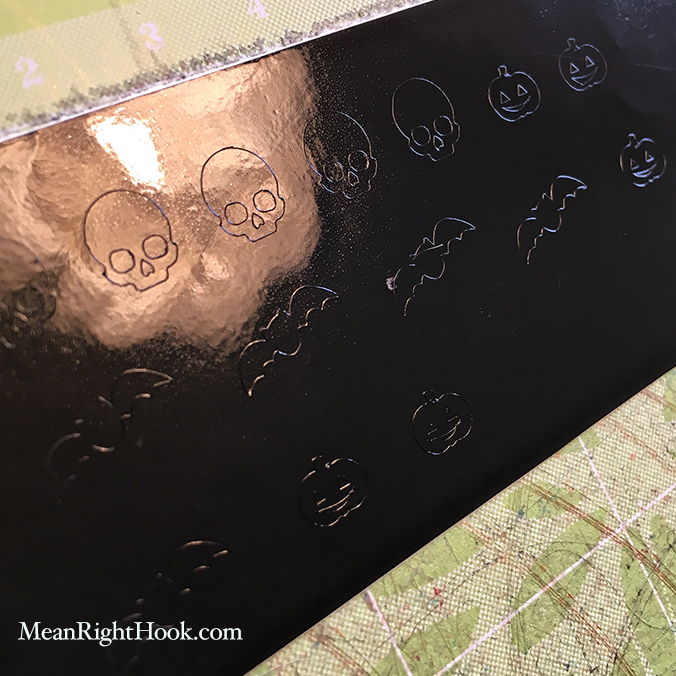
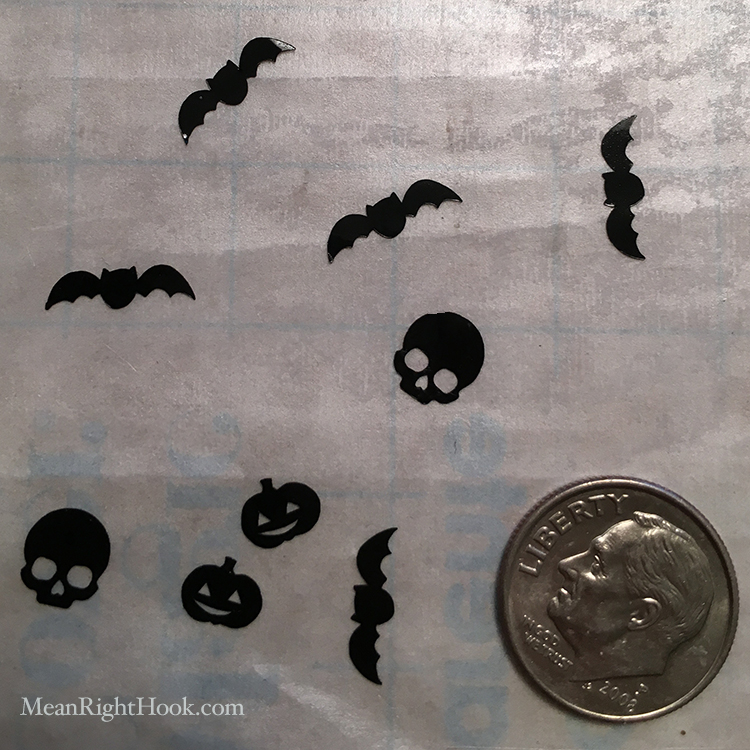
This weekend I tried cutting my own nail decals for the first time. I have to say I'm totally hooked! I can't get over how cute they are! And they're a great way to use up all those little scraps of vinyl I can't bring myself to throw away.
Here's how you can make your own with the Cricut Explore.
First upload the images you want for your decals and size them to fit your nails. I made the width of mine around 0.25 to 0.30in.
Once you have them the size you want, hit 'Go' to get to your mat layout. There I duplicated my images to have as many as I needed. Make sure to cut more than you think you'll need. Since they're so little and delicate, you might mess up a few when your weeding them.
For your cut settings, turn the dial on your machine to 'Custom' and change your setting in the drop down menu to 'Washi Tape'. This setting allows for very detailed and delicate cuts. I used outdoor grade Oracal (651) vinyl but I think a less sticky indoor type vinyl would work just fine too.
Ta-Daa!! And the're done! Then very carefully weed your images. I used a straight pin to get out the little pieces. All that's left is applying them to your nails.
I can't wait to make more. I'm just amazed at how small the Explore cuts.
If you'd like to make your own spooky nails, you can download my design for free! Just click here for the SVG. (Please do not repurpose, share, or sell my designs. If you'd like to share them with a friend, just link them to this blog post.)
If you make your own decals I'd love to see them! Share them in the comments here or tag me in your instagram post @KKuss


