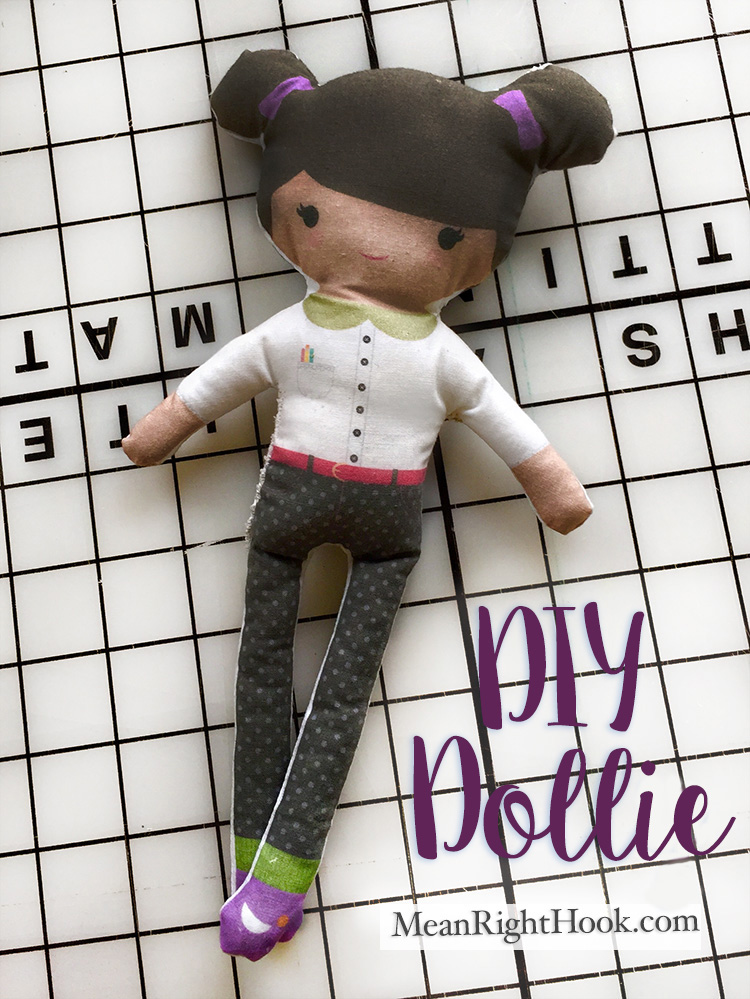
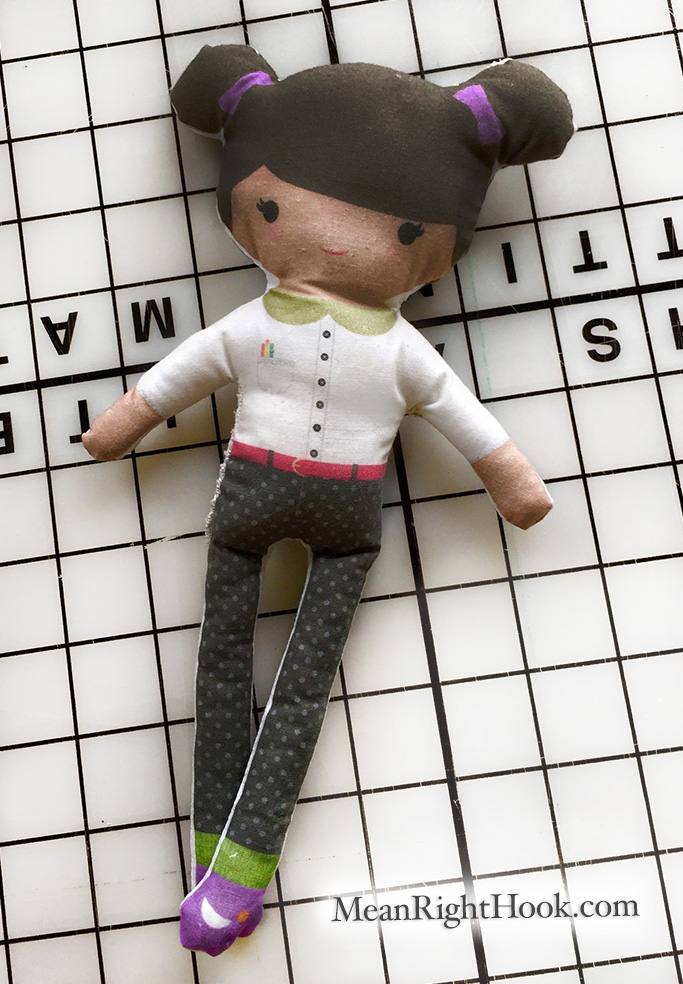
I wanted to try to make a small doll for Raven. One that she could carry around that wasn't too big and fit in her hands well. I'm also not great at sewing, so it couldn't be too complicated. I decided to try printing a doll design on fabric and sewing it together.
I started off by using SpoonFlower's doll template and editing it in Photoshop. I tried to make her look more like Raven and I separated the front and the back of the doll so I could print each part on it's own 8.5x11 piece of fabric.
Then I cut out two 8.5 x 11 sheets of freezer paper, ironed it on to white cotton fabric and cut out the fabric.
I loaded one fabric sheet into the back tray of my inkjet printer and printed the front of the doll then repeated that again for the back of the doll. Once she was printed out I waited about 30 minutes for the fabric to dry so I wouldn't smudge the ink. Then I cut her out and removed the freezer paper backing.
Placing right sides together, I sewed around the doll, leaving a small opening on her side so I could turn her right side out and stuff her. Her legs were the most difficult to turn right side out since they're so skinny. I used a crochet hook to help get them out and that worked great.
After she was stuffed, I hand-sewed her side opening and she was done! I think Raven likes her new friend. I'm pretty sure she's telling her all her baby secrets because she likes to talk to her a lot.


