A Doll for Raven

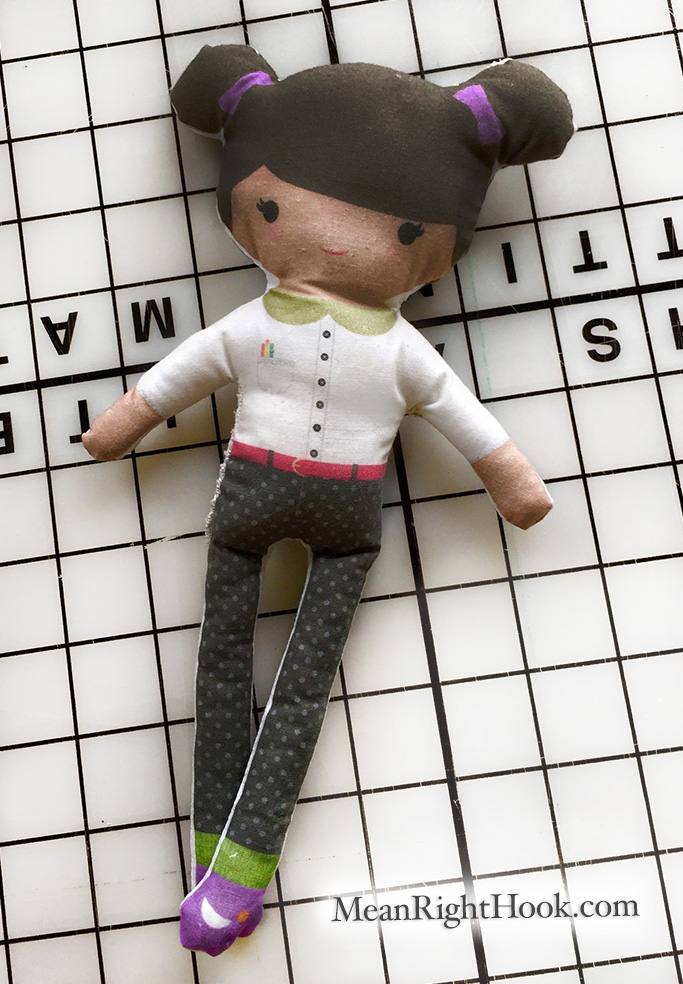
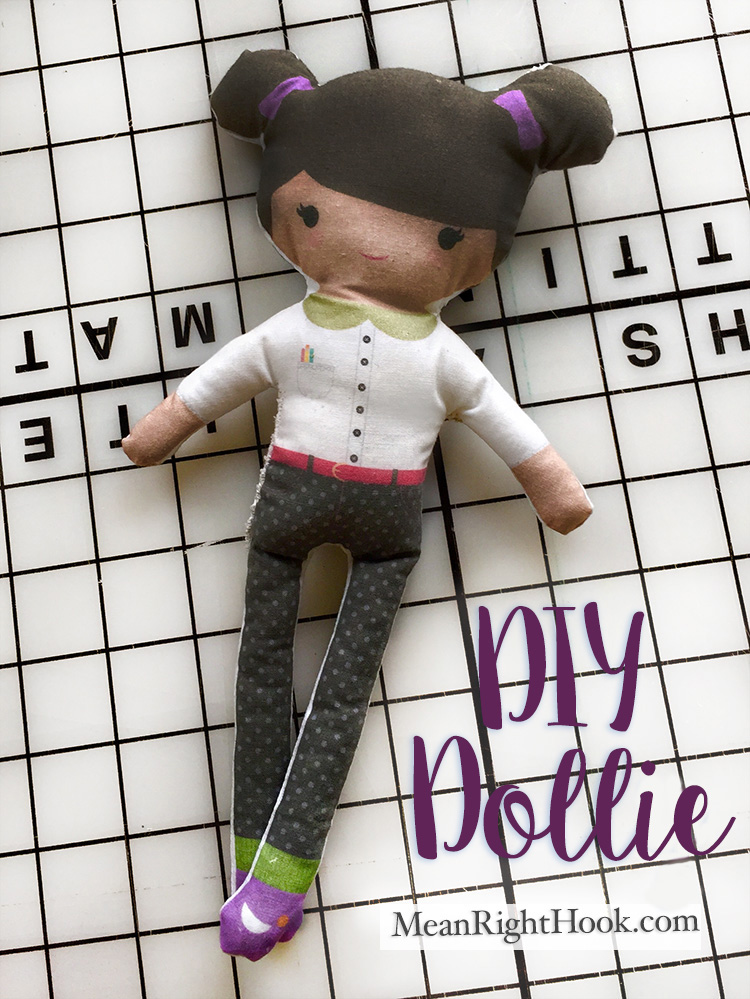
I wanted to try to make a small doll for Raven. One that she could carry around that wasn't too big and fit in her hands well. I'm also not great at sewing, so it couldn't be too complicated. I decided to try printing a doll design on fabric and sewing it together.

DIY Printable Doll Tutorial | MeanRightHook.com

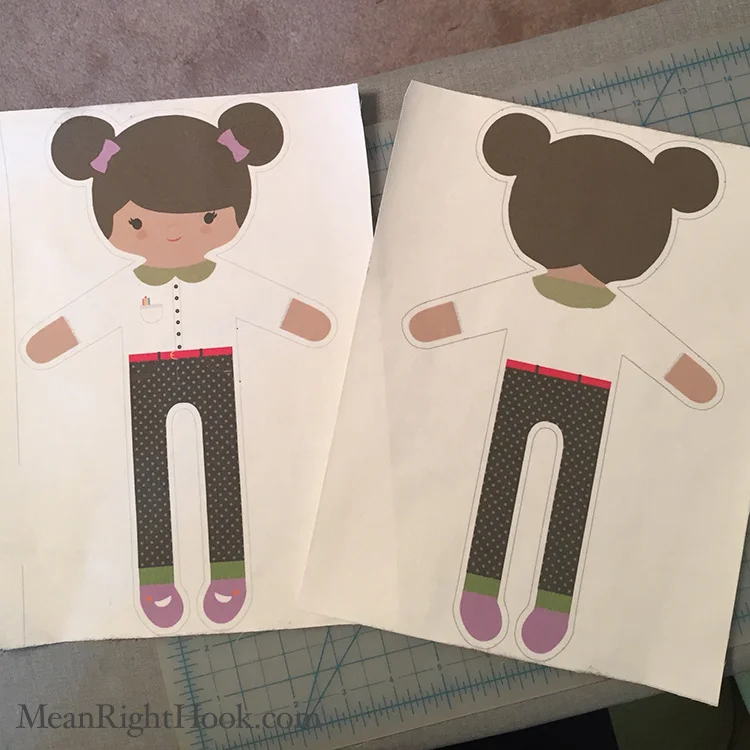
I started off by using SpoonFlower's doll template and editing it in Photoshop. I tried to make her look more like Raven and I separated the front and the back of the doll so I could print each part on it's own 8.5x11 piece of fabric. 

DIY Printable Doll | MeanRightHook.com

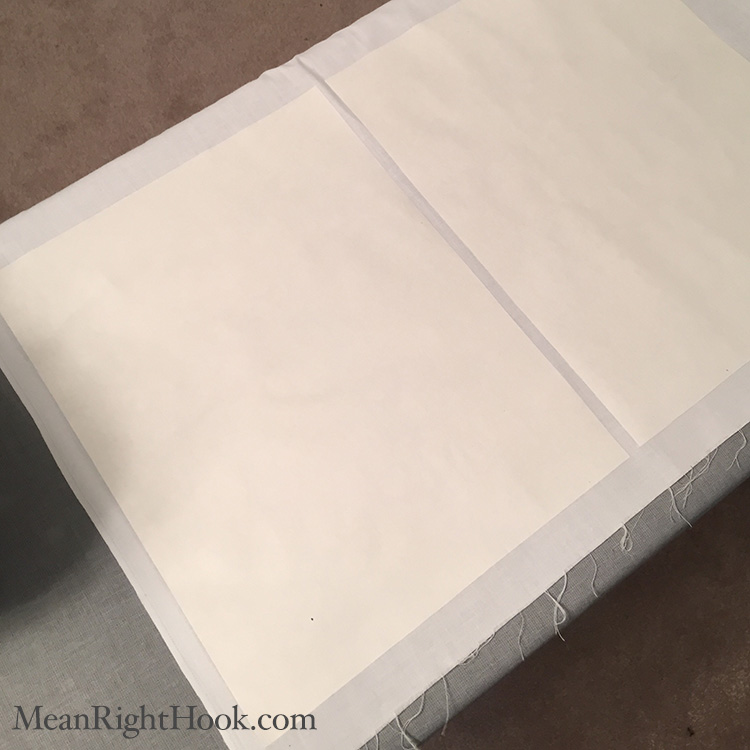
Then I cut out two 8.5 x 11 sheets of freezer paper, ironed it on to white cotton fabric and cut out the fabric.

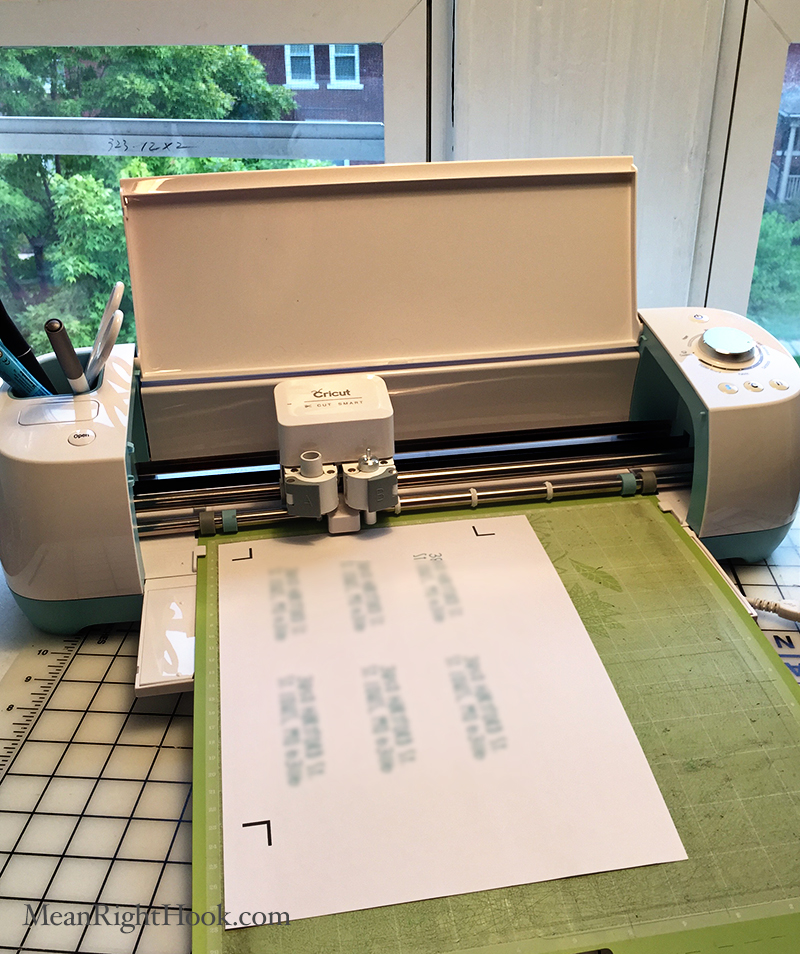
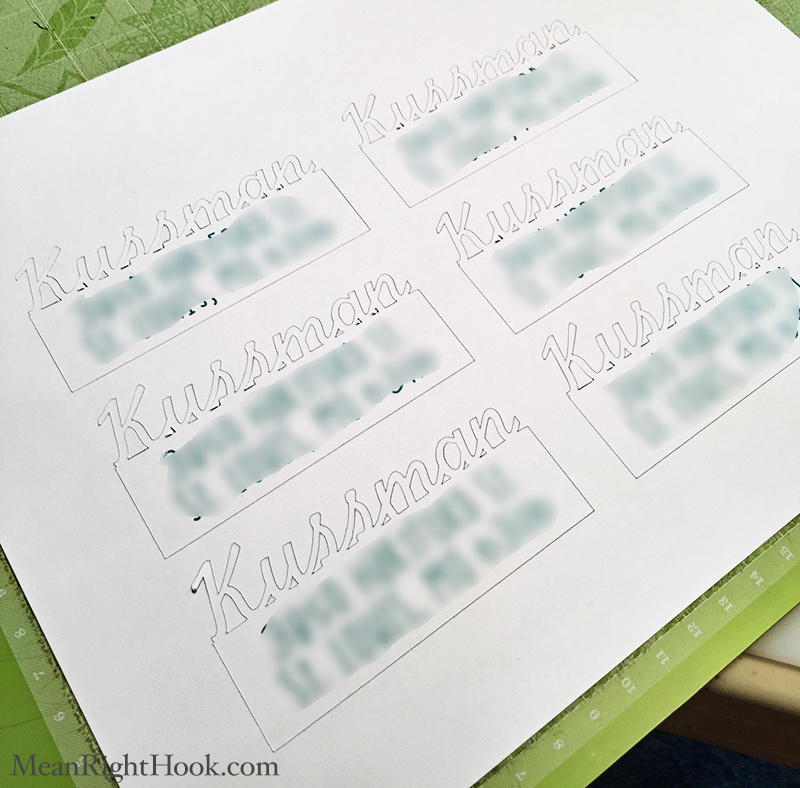
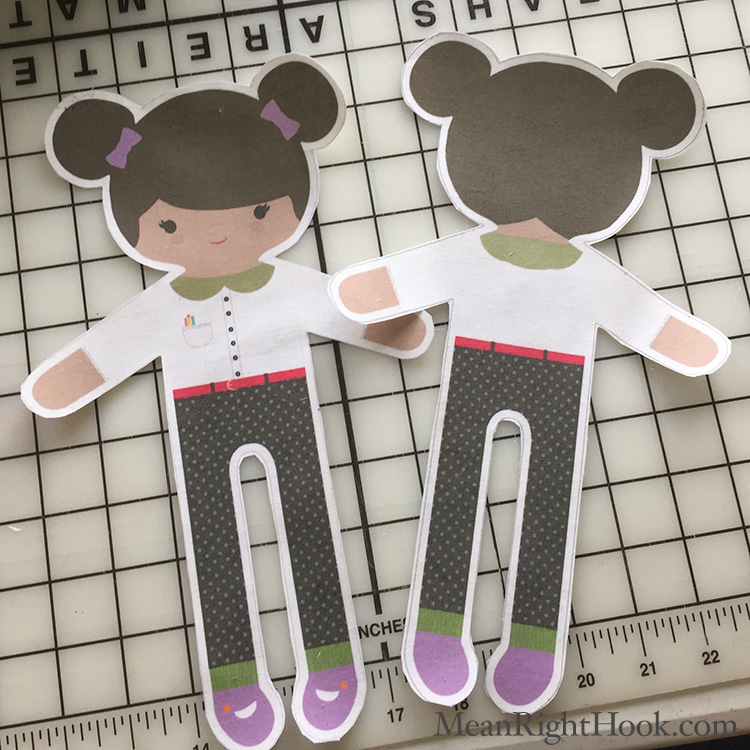
I loaded one fabric sheet into the back tray of my inkjet printer and printed the front of the doll then repeated that again for the back of the doll. Once she was printed out I waited about 30 minutes for the fabric to dry so I wouldn't smudge the ink. Then I cut her out and removed the freezer paper backing. 

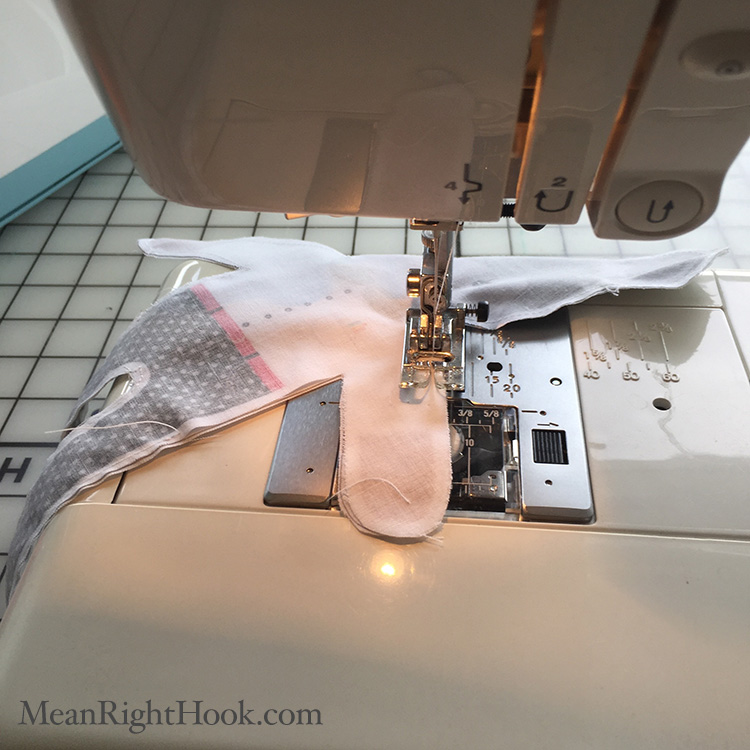
Placing right sides together, I sewed around the doll, leaving a small opening on her side so I could turn her right side out and stuff her. Her legs were the most difficult to turn right side out since they're so skinny. I used a crochet hook to help get them out and that worked great.

After she was stuffed, I hand-sewed her side opening and she was done! I think Raven likes her new friend. I'm pretty sure she's telling her all her baby secrets because she likes to talk to her a lot.

Making Return Address Labels with your Cricut Explore

I saw this great tutorial on how to make return address labels with your Silhouette and I really wanted to try it on my Explore. It was very easy and it only took a few minutes.

Making Return Address Labels with your Cricut Explore at MeanRightHook.com

1. First draw a square

Making Return Address Labels with your Cricut Explore at MeanRightHook.com

2. Unlock it to make it a rectangle. I made mine 3.5 X 1 (I will say these are a little big, next time I’ll make them more like 2.5 x 1)

Making Return Address Labels with your Cricut Explore at MeanRightHook.com

3. Then write out your last name in the font of your choice. I picked Pilgi from my system fonts.

Making Return Address Labels with your Cricut Explore at MeanRightHook.com

4. Select both your name layer and the rectangle layer, then weld them together

Making Return Address Labels with your Cricut Explore at MeanRightHook.com

5. Next write out your address. I picked a cute san serf font. Then select both the label layer and the address layer and center horizontally align them so the address is on there straight. 

Making Return Address Labels with your Cricut Explore at MeanRightHook.com

6. I wanted to use the Print Then Cut feature, so I changed my address to Print.

Making Return Address Labels with your Cricut Explore at MeanRightHook.com

7. I’m using Firefox, so I know my Print Then Cut dimensions are 6”x8.5”

Making Return Address Labels with your Cricut Explore at MeanRightHook.com

8. Then select both layers and click 'Attach' so the address stays on the layer when you go Print then Cut. You can change the label back to 'Cut', but I left it as print but changed it’s color to white. My printer, and most home printers, do not print white so it’s essentially doing the same thing. 

Making Return Address Labels with your Cricut Explore at MeanRightHook.com

9. Then duplicate the label as many times as you like or as many times as will fit in your printable area. Again, I will say I think mine could have been smaller.

Making Return Address Labels with your Cricut Explore at MeanRightHook.com

10. Then select all and attach again.

Making Return Address Labels with your Cricut Explore at MeanRightHook.com

11. After you hit GO, click "More Mat Settings" and uncheck your bleed setting. You don’t need bleed for this project.

13 copy.jpg

12. Then print out your labels and cut! 

Easy peasy! If you want an even simpler way, just use the write feature for your address instead of the Print Then Cut. 

If this tutorial helped you out, Pin it on Pinterest so others can find it too!