A Doll for Raven

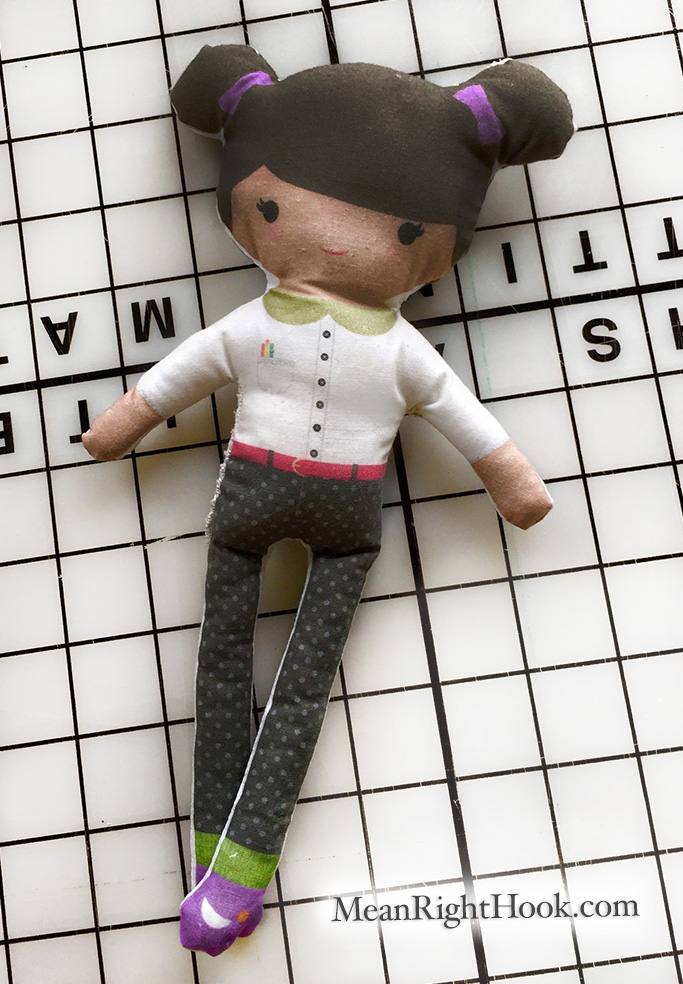
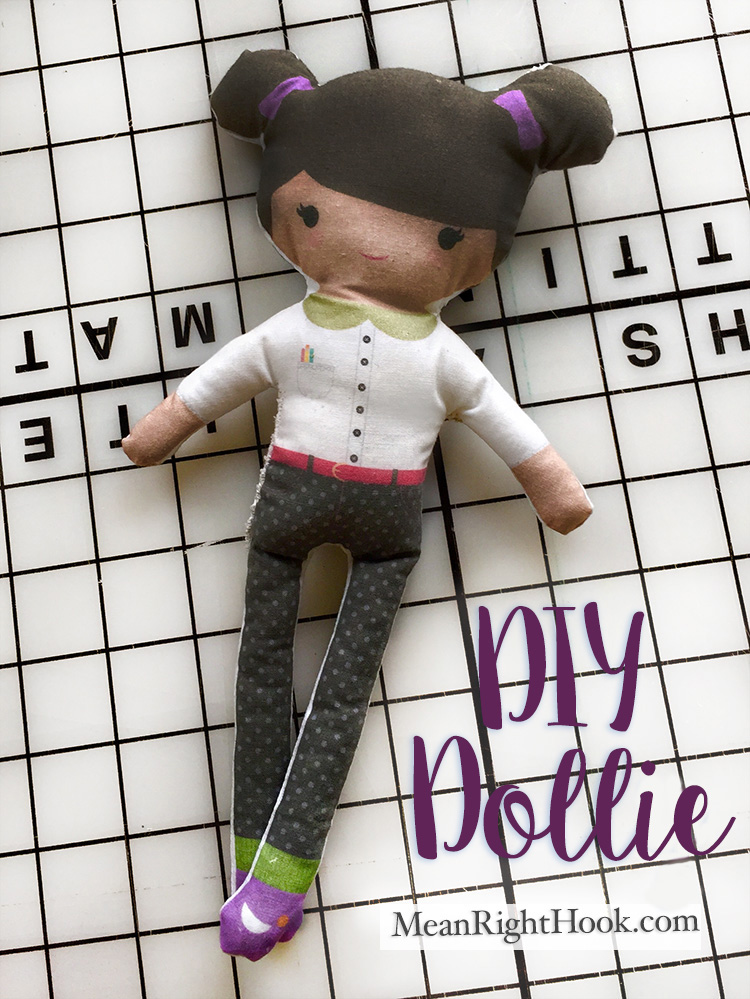
I wanted to try to make a small doll for Raven. One that she could carry around that wasn't too big and fit in her hands well. I'm also not great at sewing, so it couldn't be too complicated. I decided to try printing a doll design on fabric and sewing it together.

DIY Printable Doll Tutorial | MeanRightHook.com

I started off by using SpoonFlower's doll template and editing it in Photoshop. I tried to make her look more like Raven and I separated the front and the back of the doll so I could print each part on it's own 8.5x11 piece of fabric. 

DIY Printable Doll | MeanRightHook.com

Then I cut out two 8.5 x 11 sheets of freezer paper, ironed it on to white cotton fabric and cut out the fabric.

I loaded one fabric sheet into the back tray of my inkjet printer and printed the front of the doll then repeated that again for the back of the doll. Once she was printed out I waited about 30 minutes for the fabric to dry so I wouldn't smudge the ink. Then I cut her out and removed the freezer paper backing. 

Placing right sides together, I sewed around the doll, leaving a small opening on her side so I could turn her right side out and stuff her. Her legs were the most difficult to turn right side out since they're so skinny. I used a crochet hook to help get them out and that worked great.

After she was stuffed, I hand-sewed her side opening and she was done! I think Raven likes her new friend. I'm pretty sure she's telling her all her baby secrets because she likes to talk to her a lot.
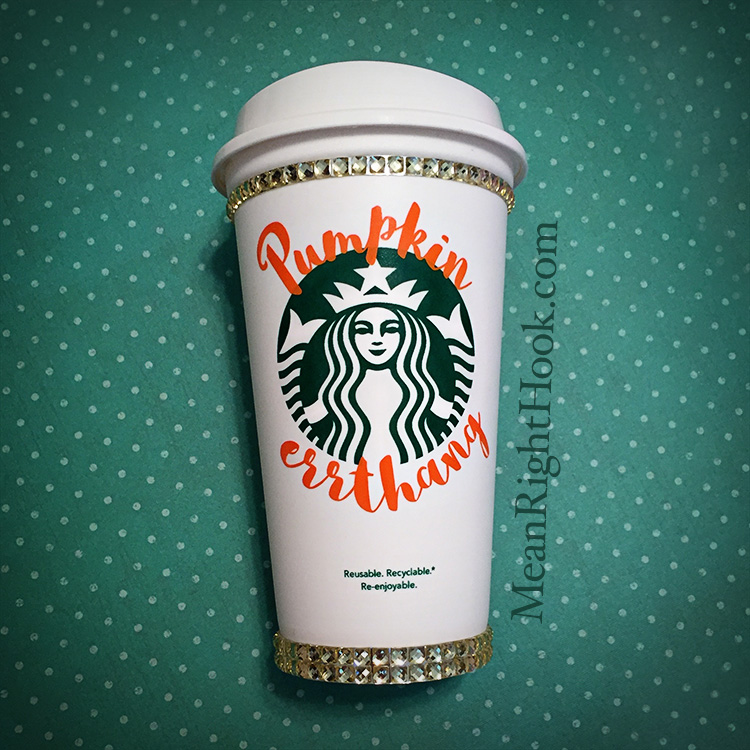
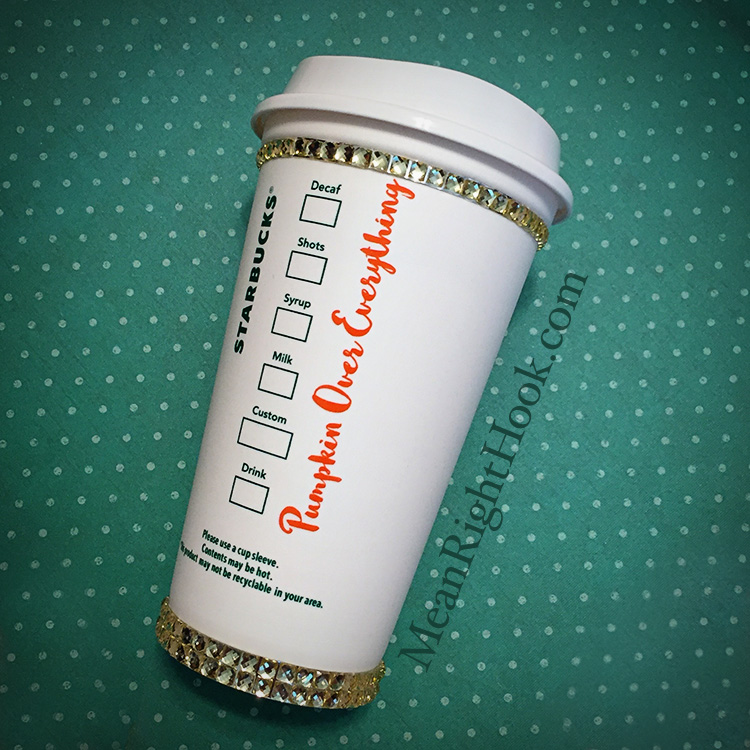
Pumpkin Errthang!

Everyone who knows me knows my favorite day of the whole year is when Starbucks comes out with its pumpkin spice latte. Well it's almost time!! To celebrate I made myself a cup for all my lattes this season. 

I can't wait to use it!! Sept 8th can't get here soon enough! 

Otterly Great Birthday!

I said I'd get started early on my husband's birthday card so I wouldn't have to rush last minute and I actually got it done! Whoo Hoo! I wanted to make something really awesome so I went to YouTube to find some inspiration. I started searching though Lawn Fawn's Channel and they had the coolest spinner card video tutorial. I decided this is what I wanted to make.

Otterly Great Lawn Fawn Birthday Card | MeanRightHook.com

Last minute card

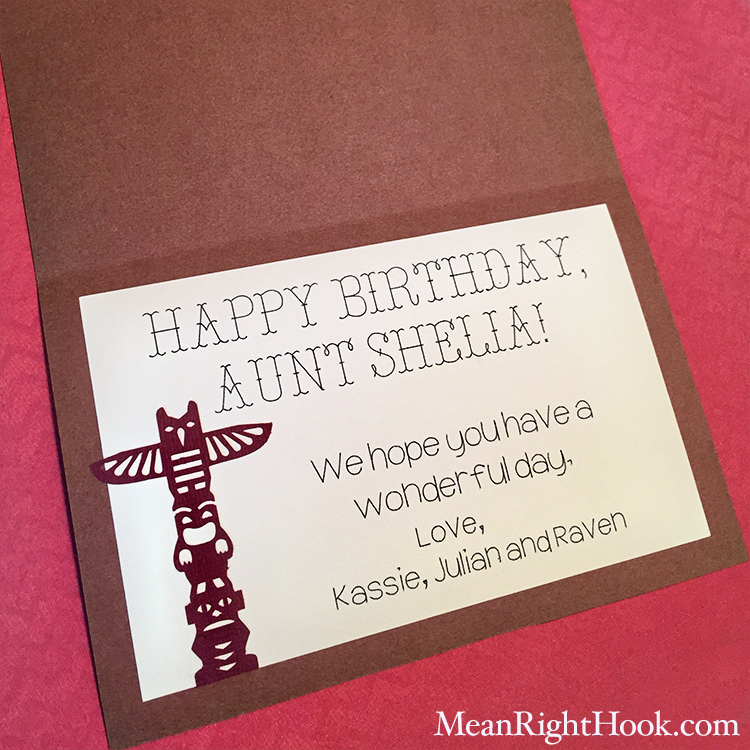
I'm not that experienced with paper crafts but since I got my Explore I've been trying to make cards when special occasions come up. Well, my aunt's birthday is in three days and I completely forgot about it until this morning! I had to whip up something fast (during nap times) today for her to get it by her birthday. 

I think it came out okay for being so rushed. I really need to start putting birthdays in my calendar. The next birthday coming up is my husband's and it's next week. So I think I'll get started on that one now. 

Sunfold Dying with Inkodye

Last summer when I was pregnant I bought a few bottles of Lumi Inkodye to make onesies. I never really got the effect I wanted. I couldn't ever get my printed negatives dark enough I guess. But they looked okay for homemade.

Sunfold Dying with Inkodye by MeanRightHook.com
Last summer's Inkodye experiments. 

Last summer's Inkodye experiments. 

This summer I bought another pack of plain white onesies for heat transfer vinyl crafts, but then I remembered I still had a bunch of dye in the basement I didnt use. Instead of doing designed prints, I wanted to try sunfold tie-dying. I followed the instructions from the Lumi website. Well kinda, I never really follow instructions. I just sorta wing it.

I did the sunfold process twice. The first time I used blue and a little bit of black. Then I washed out the onesie and did it again with a mix of blue and red so I would get a violet color.

Sunfold Dying with Inkodye by MeanRightHook.com

I love how this came out! I'm probably going to make a few more and experiment with mixing other colors together.